
*This post may contain affiliate links. As an Amazon Associate we earn from qualifying purchases.
Removing a steering damper from a Toyota Land Cruiser can seem like a task tailor-made to test your patience, much like teaching a cat to swim. The steering damper, a vital component that minimizes wobble and vibration, is nestled comfortably in your Land Cruiser waiting—rather stubbornly—for you to replace it. But fear not, with the right tools, a bit of elbow grease, and the patience of a saint, you can swap out that old damper for a shiny new one without much trouble.
When tackling the removal of the steering damper, one might consider the process akin to preparing for a grand ballet performance. It’s essential to warm up, rehearse, and ensure that each step is gracefully executed. Before the wrench meets the bolt, you’ll want to prepare your trusty Land Cruiser for surgery. This means parking on a level surface, mustering all the tools you might need, and perhaps taking a moment to whisper a sweet nothing or two to your vehicle for good luck.
Key Takeaways
- Replacing a steering damper is more about finesse than brute force.
- Proper preparation of your workspace and tools can ease the removal process.
- The new steering damper should restore stability and performance to your ride.
Preparing the Land Cruiser

Before one even thinks about wrestling with the steering damper on their noble Land Cruiser, they must have their trusty steel chariot properly set up. This is not merely a suggestion—it’s a crusade for efficiency and safety!
Safety First!
Let’s all agree that being flat-out under a Land Cruiser without safety precautions is not the bravest act, it’s a lunacy. They’ll want to make sure the beast is parked on level ground and the parking brake has declared “None shall pass!” to any potential movement. It’s advisable to chock the wheels too, just for an added sense of drama—err, safety.
- Chock the wheels: Ensures the Cruiser doesn’t go on an unexpected adventure.
- Engage the parking brake: It’s like casting a spell of immobility.
Gathering Tools of the Trade
Now on to the heroic gathering of tools! One does not simply remove a steering damper without the proper arsenal. Below is a table that might conjure memories of quests in dark and mystical garages.
| Tool Category | Specific Implements Needed |
|---|---|
| Basic Hand Tools | Ratchet, various sockets (to fit those pesky nuts and bolts) |
| Magical Elixirs | Penetrating oil (because who doesn’t like a bit of magic to loosen things up?) |
| Scrolls of Wisdom | Service manual (Yes, reading is fundamental) |
One must ensure that they have all the required items laid out in their armory—or garage, depending on the grandeur of one’s dwelling. Only a foolhardy knight would embark on a quest without checking his horses, or in this case, his ratchet’s condition.
Getting Down to Business
Before diving tools-first into the abyss of mechanical components, one must understand that removing a steering damper on a Land Cruiser is not wizardry, but it does require a meticulous touch and the right incantations… I mean, instructions.
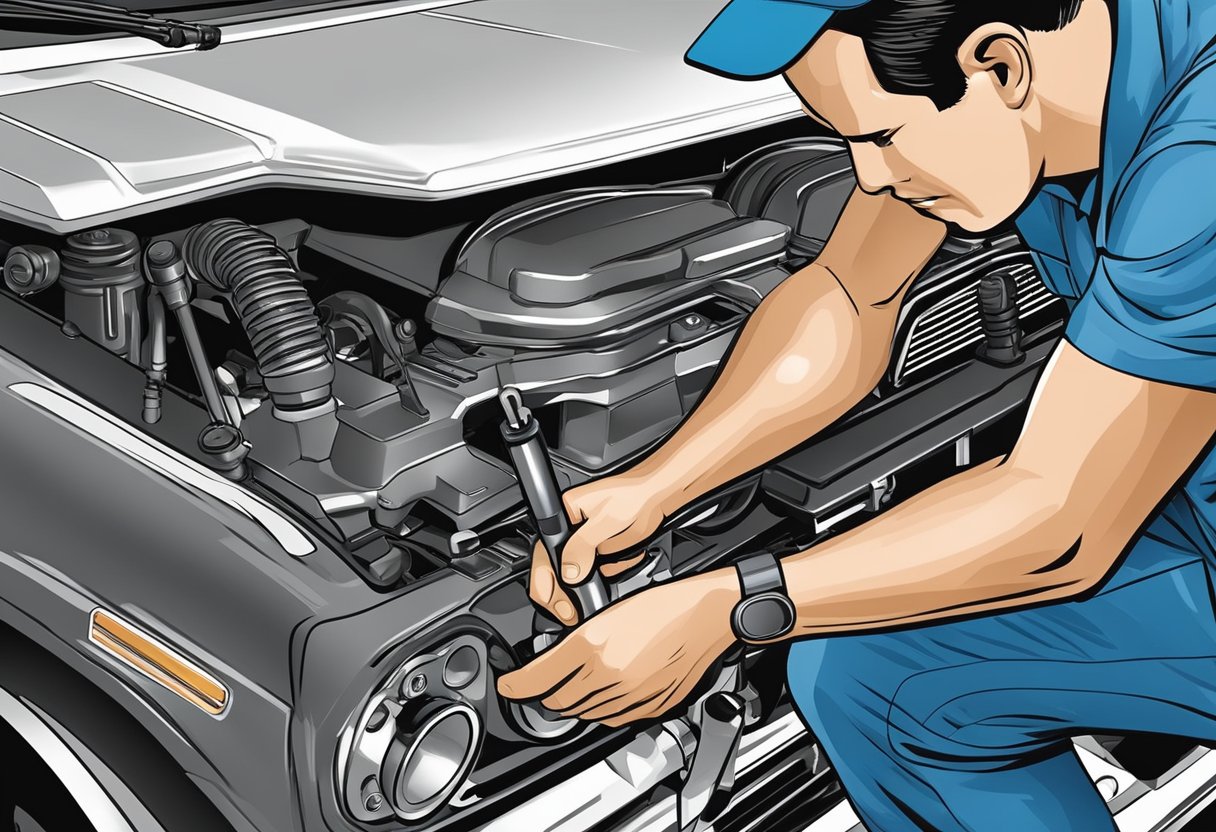
Steering Wheel Shenanigans
Ah, the steering wheel, that trusty helm of the land-faring ship known as the Land Cruiser. To tackle the steering damper, one must first deal with the steering wheel and its trusty sidekick, the airbag connector. It’s a dance of precision:
- Disconnect the battery: Safety first, or one might get a surprise handshake from the airbag.
- Remove the column covers: This is an act of unveiling the beauty that is the inner workings of the steering column.
- Access the ignition switch: Sneak past the guards and find the treasure beneath.
The Great Disconnect
After the chorus of screws has been sung and the airbag connector has been respectfully removed (as if handling a sleeping dragon), move on to:
- Detach the steering column: It’s not just a simple pull; it requires finesse and the right tool for the job.
- Remove the steering damper: This part is like the puzzle piece that simply refuses to fit, and when one finally removes it, it’s a triumph worthy of a knight’s tale.
| Step | Tool Needed | Notes |
|---|---|---|
| Remove airbag & wheel | Screwdriver, Torx | Mind the connectors; they’re fragile. |
| Unveil the ignition switch | Wrench, patience | Do not force; treat it like fine art. |
| Disconnect the steering damper | Wrench, the right prayer | May require a pickle fork or similar tool from the Land Cruiser Club. |
Remember, this isn’t a race; it’s more like defusing a bomb with wrenches—approaching it with a humor as dry as a Martini definitely helps.
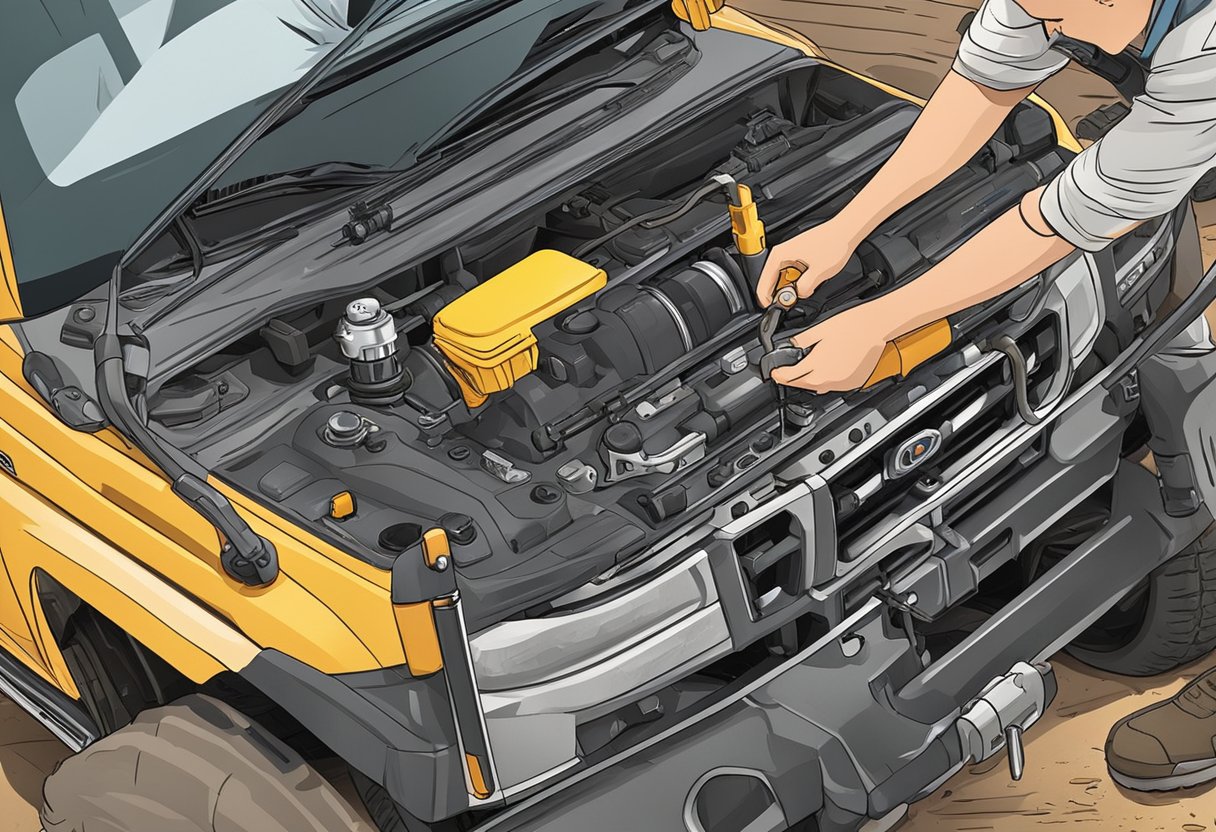
Steering Damper Removal
https://www.youtube.com/watch?v=dSRXxAiQhl4&embed=true
Taking out the old steering damper to make way for the zippy new one? It’s not just about wrenching away. One needs to tackle the right bolts and deal with the entrenched rust that’s as stubborn as a mule.
Bolts and Nuts and Tension, Oh My!
- Prep Stage: She’s got to gather her tools; the trusty ratchet set is the star of the show here.
- Bust the Rust: A liberal spritz of penetrating oil can soften up those rusted bolts like a comedy roasting softens a tough crowd.
- Turning Point: With a twist of the ratchet, the bolts should submit. If not, repeat the oiling step—patience is a virtue.
Shocking Developments
- Shock Absorbers: They were never funny, but when it comes to removal, they might just make someone crack … a sweat.
- Hot Tip: If bolts are giving the silent treatment, heat can be a persuasive force. Apply it sparingly though—no one’s barbecuing here.
- The Hammer: Sometimes, it takes a good whack to make stubborn parts see reason. But, just like telling a joke, timing and delivery are everything.
Here’s a quick breakdown for visual learners:
| Step | Tool Needed | Technique |
|---|---|---|
| 1. Lubricate Bolts | Penetrating Oil | Spritz and wait |
| 2. Remove Bolts | Ratchet Set | Turn counterclockwise |
| 3. Apply Heat | Heat Source | Sparingly, for stuck bolts |
| 4. Persuasion | Hammer | A firm tap if necessary |
Remember, the goal is to pull off the damper without pulling a muscle or busting a knuckle. Keep it light, and those shocks will slip off just like a comedian’s well-practiced punchline.
Fitting the New Contender
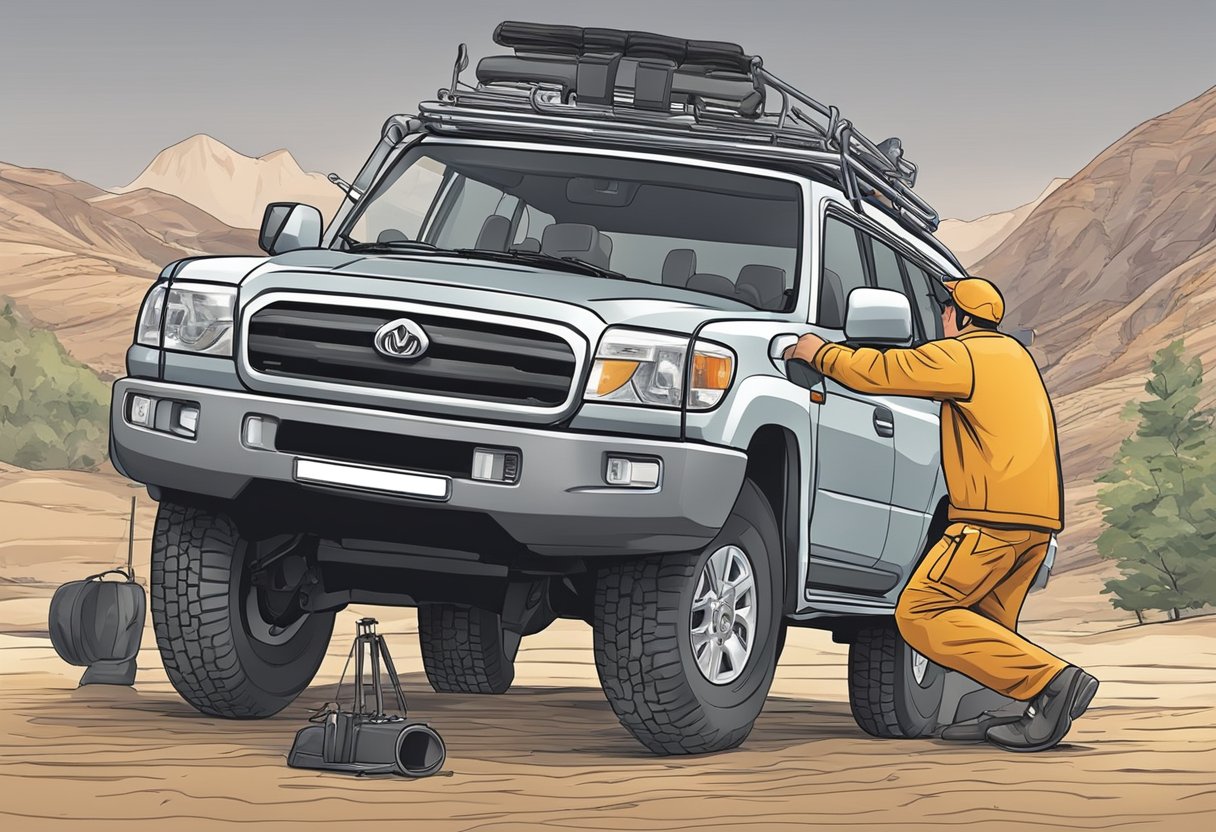
In the world of suspension artistry, fitting a new steering damper is like a dance with precision and strength. If one has performed their preparatory pirouettes correctly by removing the old damper, they’re ready for the main performance.
Alignment Hokey-Pokey
Before they twirl the new damper into place, they must ensure the stars—and more importantly, the threads—are aligned. This is no time for toe tapping; it’s a careful jig of positioning the damper so that the mount holes line up with a sort of mechanical grace. Here’s a step that makes the alignment process clear:
- Position the new damper parallel to the tie rod and guide the attachment points into a harmonious meeting. Finger-tighten the nut to keep them flirting before they commit.
Torque Tango
With the new partner nearly in embrace, it’s time for a torque tango that ensures everything is tightened to perfection. Like a well-choreographed number, one must:
- Use a torque wrench to tighten the nuts to the exact specifications. No ad-libbing allowed here; follow the OEM damper’s torque settings to avoid an embarrassing misstep.
Here’s a succinct table of torque specs to ensure a performance worthy of an encore:
| Attachment Point | Torque Spec |
|---|---|
| Nut on Damper to Tie-Rod End | XX lb-ft / XX Nm |
| Nut on Damper to Chassis End | XX lb-ft / XX Nm |
(Note: Replace ‘XX’ with the actual specifications for one’s specific Land Cruiser model.)
The audience—being any onlookers or the vehicle itself—awaits a smooth ride, free from the shakes and shimmies of yesteryear. One must ensure the threads don’t cross during this dance, as it could lead to a less-than-desirable performance down the road. With the nuts duly torqued, the installation applause is nearly in hand—just a few test drives to confirm the alignment and handling are now prancing like a show horse, and the job is a wrap.