
*This post may contain affiliate links. As an Amazon Associate we earn from qualifying purchases.
Removing the door trim on a Land Cruiser doesn’t require a degree in rocket science, but it does call for a bit of elbow grease and the right tools. Whether you’re tackling a rattle that’s driving you around the bend or fitting in some shiny new speakers, getting off that door panel is the first step. It’s essential to approach this task with patience and precision to avoid breaking those sneaky plastic clips or scratching your Cruiser’s interior.
Before diving in, make sure you have all the necessary tools within arm’s reach. The last thing you want is to be mid-removal and realize you’re missing a trim removal tool or a Phillips screwdriver. With everything laid out and a clear workspace, the process involves a series of steps that include removing screws and carefully prying off the panel. Taking your time is key, as some components are hidden and require a gentle touch. But fear not—the sense of accomplishment when that panel pops off without a hitch is worth the cautious effort.
Key Takeaways
- Proper preparation and having the right tools are crucial.
- Gentle removal of screws and clips helps avoid damage.
- Patience during the process ensures a successful removal.
Tools and Preparations
Before they can start playing musical chairs with door trim on their Land Cruiser, the eager DIYers need to get their ducks—or should we say screwdrivers—in a row. Proper tool gathering and the right mindset are crucial unless they fancy turning their door trim into modern art.
Gather Your Tools
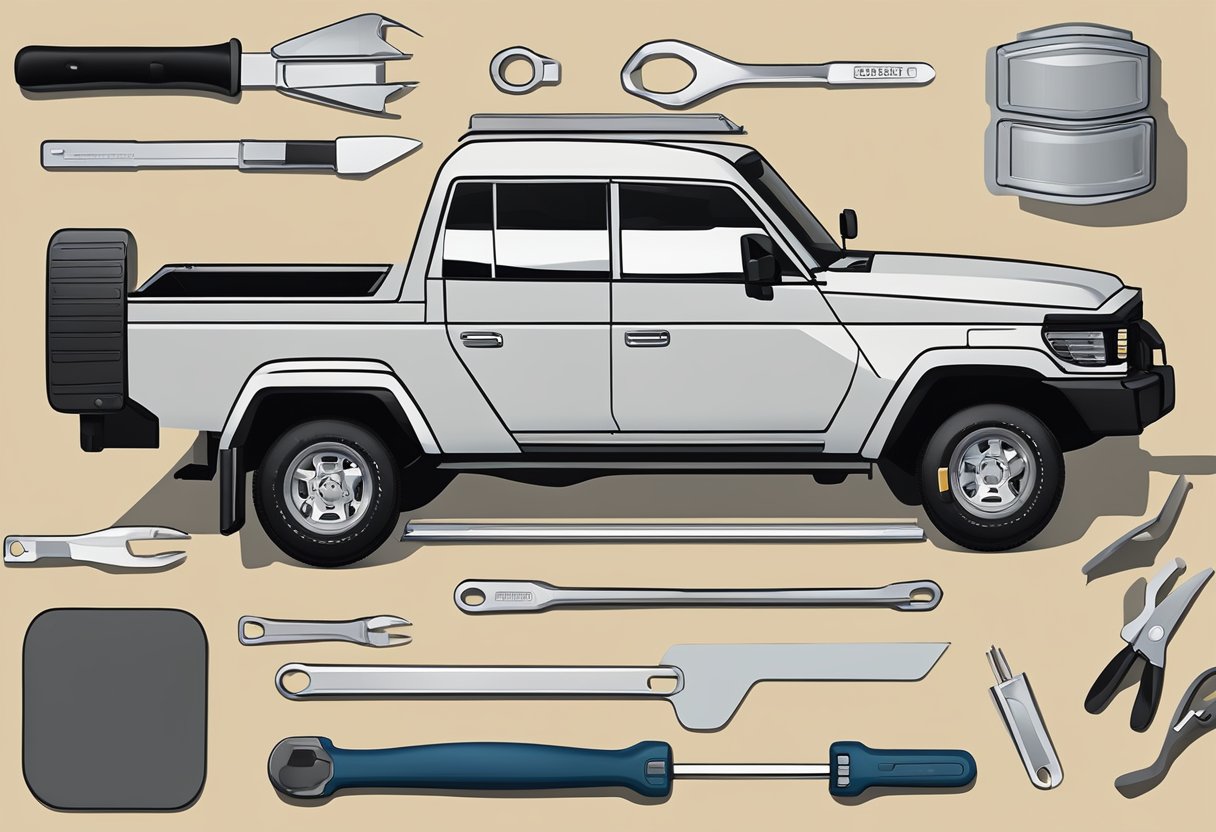
One does not simply remove door trim with a butter knife and good intentions. Here’s what they’ll need:
- Screwdrivers: both flat-head and Phillips-head, because diversity is key when dealing with sneaky screws.
- Torx wrenches: for those moments when the screws go ‘hex’ on you.
- Trim tools: plastic is to clips what peanut butter is to jelly—essential.
- MP grease: because sometimes things need a little slide-and-glide action.
- A container or bag: for keeping screws and clips from disappearing into the Land Cruiser Bermuda Triangle.
Getting the Right Mindset
Removing door trim is like a first date; it can go beautifully or spectacularly awkward. They should take a deep breath, remember that patience is a virtue, and approach their Land Cruiser with the confidence of a knight in shining armor—ready to rescue their door trim in distress.
Removing the Door Trim Step by Step
https://www.youtube.com/watch?v=cSJOWPthVik&embed=true
When it comes to removing the door trim from a Toyota Land Cruiser, one does not simply pull and hope for the best. Precision paired with a touch of finesse is key to getting that trim off without turning the interior into a modern art piece of scratches and snaps.
Unscrewing the Secrets
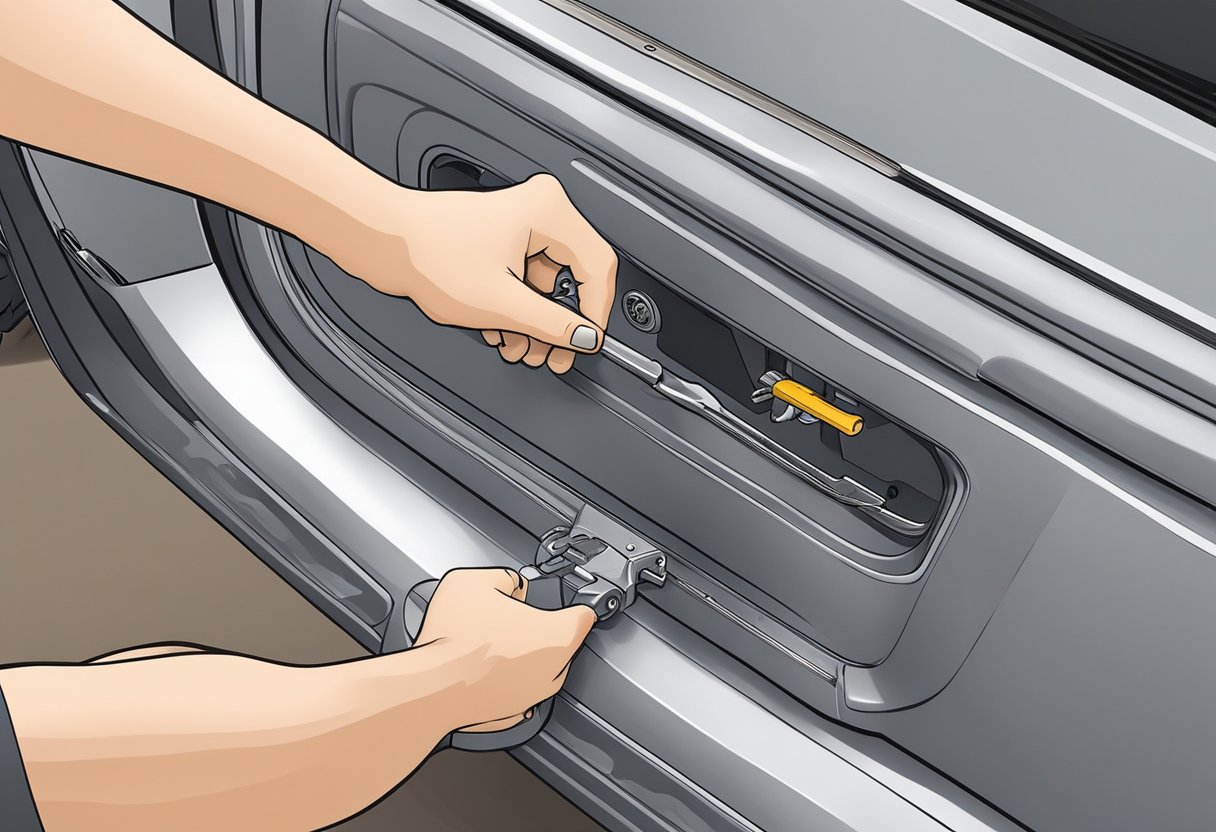
Before the trim can say “freedom,” screws holding onto the Land Cruiser’s door panel tighter than a koala on a eucalyptus must go. Locate and unscrew all visible fasteners. Sometimes they’re sneakier than a cat burglar, hiding behind caps or within recesses like they’re in a witness protection program.
- Front Door: Expect to find screws cunningly concealed under caps or within the door’s armrest.
- Rear Door: Look for screws near the door handle, because they like to socialize there.
Pop Goes the Trim
After the screws have hit the road, it’s time for the clips to bow out. Gently — like one would handle a sleeping baby or a hand grenade — use a trim removal tool to pry the trim piece away from the door. Clips might pop with the enthusiasm of popcorn kernels in hot oil, but they shouldn’t be allowed to fly around the cabin.
Process:
- Insert trim tool between door trim and panel.
- Apply careful leverage to avoid a UFO (Unexpected Flying Object) situation.
Disconnecting the Lifelines
With the trim piece hanging on like the last leaves in autumn, it’s time to disconnect the lifelines. Electrical connectors are the heartbeat of any Toyota Land Cruiser’s interior functions, tethering the door trim to components that one might want to keep functioning, like windows and door locks.
Approach:
- Treat connectors like a first date; be gentle, attentive, and listen for the click that says, “I’m ready to let go.”
- If a service manual is in the glove box, it’s like having a relationship counselor – consult it before making moves.
Note: All procedures should be followed with care, referencing the Land Cruiser’s official service manual for body mechanical as necessary to avoid an “oops” that turns into “oh no.”
https://www.youtube.com/watch?v=da-6sk8QSYA&embed=true
Removing the door trim on a Land Cruiser can feel like one is performing delicate surgery on a beloved pet rock, but fear not, the following sections will guide them through the labyrinth of clips and screws with the finesse of a buttered-up locksmith.
Handling the Handle
They might not need to be Herculean in strength to remove the inside handle, but they will need the precision of a cat burglar. Here’s the trick:
- Gently pry off the door inside handle bezel; it’s more sensitive to touch than a smartphone screen.
- Unfasten any screws holding the handle. They’re often hiding like ninjas behind covers or trim.
Window Regulator Woes
The window regulator is the unsung hero that makes sure the door glass doesn’t play hide and seek with them. However, when replacing or repairing it, a few steps should be noted:
- Locate and remove the service hole cover—a peekaboo panel allowing access to the window’s guts.
- Ease the tension of the window by unbolting it from the regulator; it’s like loosening a tight belt after a big meal.
Miscellaneous Mysteries
In the chamber of secrets that is door trim removal, a few miscellaneous entities must not go unacknowledged:
- The door lock and outside handle share a secret handshake that needs deciphering. To separate them, one must find the clips that bind their eternal friendship.
- Weatherstripping might cling like a frightened octopus, but be gentle—weatherstripping has feelings too.
- Door belt moulding, sun visors, and quarter window glass are like introverts at a party; remove them carefully and they won’t make a fuss.
Wrapping Up Like a Pro

After they’ve conquered the wild safari of door trim removal, one might feel like basking in the glory of their achievement. However, the adventure isn’t over until the Land Cruiser’s door is back to its spiffy self. Here’s how to button things up with the skill of a pro and maybe have a chuckle along the way:
- Organization is key: They should lay out all their tools and pieces in the order of reassembly—like organizing a parade, only with less confetti.
- Attention to detail: They must ensure all clips and screws go back where they came from. It’s like a puzzle, but one that can result in wind noise if done incorrectly.
Reassembly Steps:
- Begin by aligning the door trim panel with the door frame. They must treat it like a first date—approach with confidence but be gentle.
- Press in the retainer clips with the finesse of a pastry chef placing chocolate chips on a cookie.
- Replace the screws and bolts. Remember, righty-tighty, lefty-loosey—unless they’re in Australia, then everything’s upside down.
- Adjust the trim to fit snugly. They wouldn’t want it to rattle like a maraca at a salsa dance.
- Double-check all the work. It’s like doing a spell check before sending a witty email.
With a dash of humor and a good dose of precision, the wrap-up phase should leave them with a door trim that looks as though it was kissed by the factory itself. They now have the know-how to dance this mechanical tango again whenever the need arises.