
*This post may contain affiliate links. As an Amazon Associate we earn from qualifying purchases.
Removing the radio from a Toyota Land Cruiser might seem like a task for the daring or, let’s be honest, for someone who just doesn’t want to admit defeat to a jumble of wires and clips. But fear not, brave do-it-yourselfers! With the right approach, you can take back control from that stoic dashboard. Whether you are pining for an audio upgrade or simply trying to fix a glitch, the removal process is a harmonious blend of patience and precision.

Before embarking on this automotive symphony, gathering the necessary tools is like finding the perfect ensemble for a night out – crucial and, dare we say, empowering. A screwdriver set, trim removal tool, and maybe a friendly word of encouragement are the opening acts. From there, the step-by-step cadence of removing screws, popping off panels, and disconnecting cables unfolds. Who knew that car repair could have the same dramatic tension as defusing a bomb in a spy movie? Just remember, unlike in the movies, you can take a coffee break mid-mission.
Key Takeaways
- A successful radio removal requires patience, precision, and the right tools.
- Preparation includes gathering tools and understanding the radio removal steps.
- Reinstallation or upgrades provide an opportunity for customizing the audio experience.
Before You Start: Prep Work and Tools
Before anyone gets elbow-deep into the dashboard of their Land Cruiser, they need to know a few things; proper preparation and having the right tools are the keys to a smooth radio removal process.
Removing the Trim and Assessing the Work Zone
When it comes to removing the radio, one does not simply yank it out. The dashboard is like a fortress, and the panel is the gate. They must gently remove the trim – which is often secured by devilish little clips or screws that seem to take a personal pleasure in remaining hidden. They need to size up the situation like a cat stalking its prey, ensuring that every move is precise to prevent damage to the surrounding areas.
Gathering Your Gear
Any good heist requires the right set of tools, and while one might not be busting into a bank, the stakes feel just as high when prying away the beloved audio system of their Land Cruiser. Here’s what they will need:
- Screwdrivers: Both flat-head and Phillips because variety is the spice of life, and screws.
- Panel removal tools: These are special little prying gadgets that make them feel like a car surgeon.
- Work light: Because nobody wants to fumble in the dark, and the Land Cruiser deserves better.
- Memory saver: To keep the vehicle’s power settings intact; it’s the caped hero for car electronics preservation.
- Gloves: Optional, but they keep the hands clean and protect against the dashboard’s bite.
Their toolbox should resemble something akin to a magician’s hat – they reach in and, voilà, the perfect tool for the job every time. Here’s a neatly formatted list so they don’t miss any of the treasures:
- Screwdrivers: A Phillips-head and a flat-head
- Panel removal tools: A set for popping panels without the sobbing
- Work light: No more guessing what that shadowy figure in the corner is
- Memory saver: Because nobody likes reprogramming their clocks and radio stations
- Gloves: They’re like hand bodyguards
Armed with patience and the right arsenal, one can now embark on the inspiring journey of freeing their Land Cruiser from the clutches of an outdated or malfunctioning radio, hopefully, with more grace than a comedy of errors.
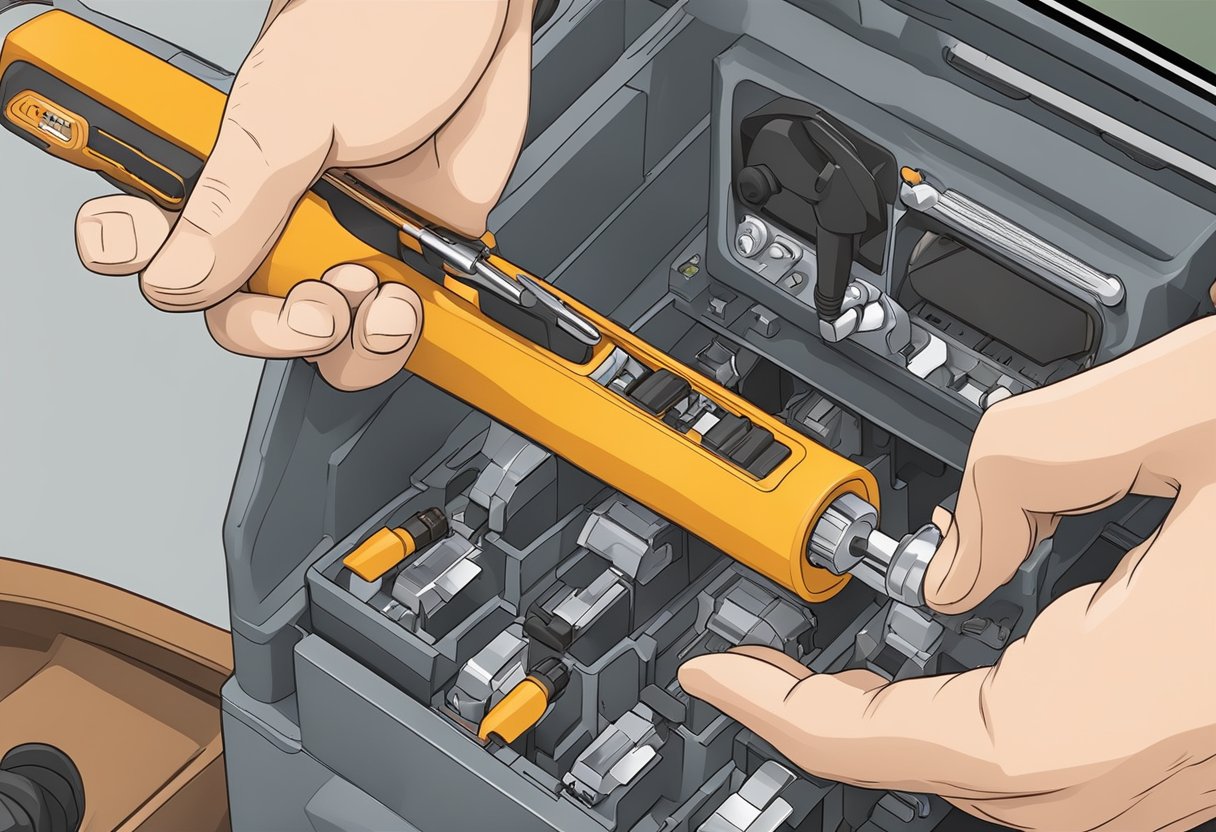
Radio Removal Step-by-Step
https://www.youtube.com/watch?v=zXOHsfiUFx8&embed=true
Before they tackle the task, readers should know that removing a radio from a Toyota Land Cruiser requires a bit of patience and a sense of humor. The interior of a Land Cruiser isn’t a clown car, but sometimes you wish it had a funny horn to honk when things get tricky.
Power Down and Protect Yourself
First and foremost, ensure the vehicle’s power is off. Wouldn’t want any surprise disco parties starting up when you’re mid-unscrew. One would disconnect the battery to avoid any electrical mishaps. It may sound like overkill, like wearing a helmet to brush your teeth, but safety is no joking matter.
Unscrewing the Securities
Land Cruisers are not held together by dreams and good intentions. There are screws involved. Hidden like a shy squirrel, these screws may be behind panels or under trim pieces. One must remove them with all the care of a squirrel gathering nuts for the winter.
- Trim removal: Locate and carefully pry off the trim pieces, using a trim removal tool or an old credit card nobody cares about.
- Seat area screws: Sometimes, screws near the seat area are conspiring to keep the radio in place. They must be unscrewed with a screwdriver that means business.
Detaching the Radio Unit
Once the securities are gone, it’s like opening a treasure chest, but instead of gold, they find a stereo. Gently slide the head unit out as if inviting it to a dance floor. It might resist, but persistence and gentle wiggling usually convince it to pop out.
- Radio brackets: These are like the stereo’s trusted wingmen. They might be screwed in, so a screwdriver becomes their best friend—or worst enemy, depending on one’s perspective.
Disconnecting the Cables and Antenna
Hooray, the stereo is out! But it’s not over yet. It’s still clinging to the car like a koala to a tree with various cables and the antenna. One should carefully disconnect the cables and antenna mast, ensuring no cables are damaged in the process because that would ruin everyone’s day.
- Aerial and reception cables: These are what give the stereo its magical music powers. Disconnect them with the grace of a ballerina.
- Power and speaker cables: Like the life support to the radio’s heart, these need a firm yet gentle tug to say goodbye.
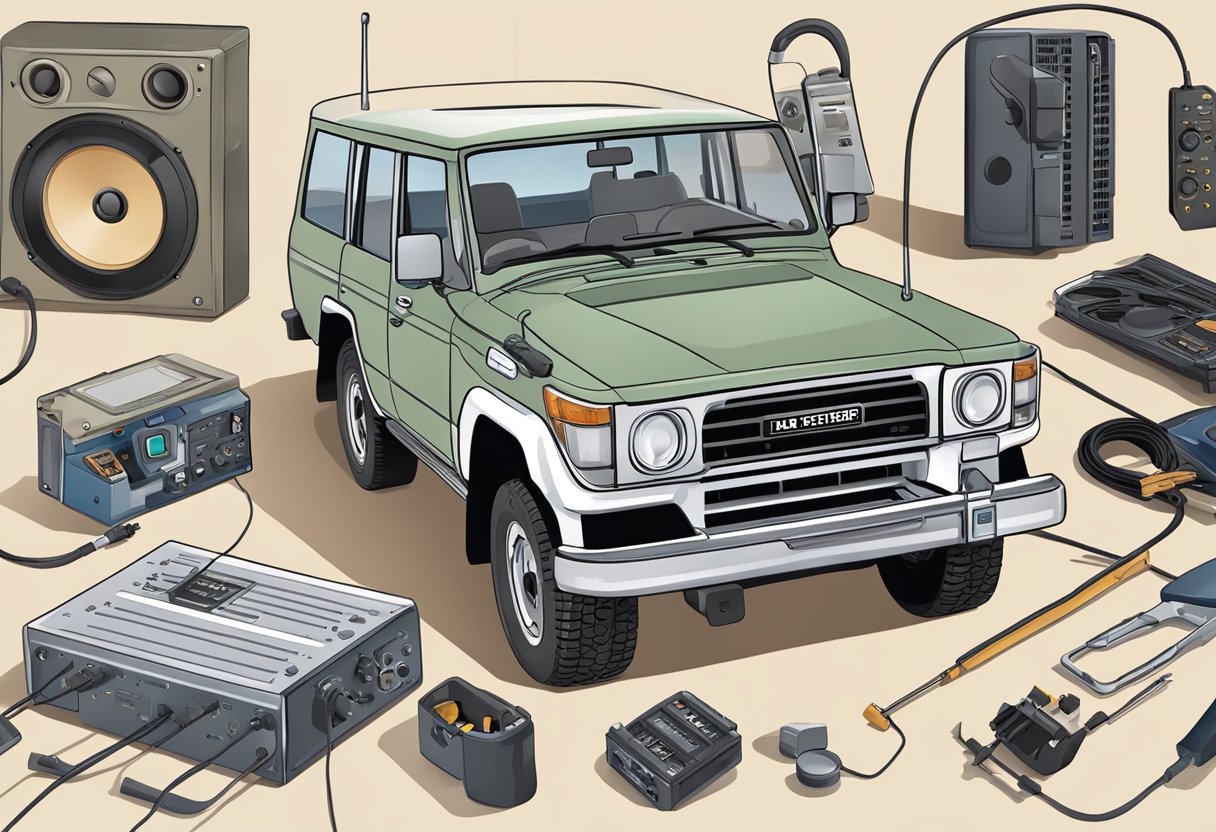
Going Beyond: Upgrades and Installation
https://www.youtube.com/watch?v=9zB4HzQJj_4&embed=true
After yanking out that old radio, one stands at the crossroads of cutting-edge technology. The dusty cavity in the dashboard is a gateway to aural bliss and hands-free convenience for the intrepid Toyota Land Cruiser owner.
Choosing Your Next Battle: Upgrade Options
When deciding on an upgrade, they must bravely navigate the vast sea of aftermarket wonders. They may opt for:
- Bluetooth capability: To stream music and take calls wirelessly.
- Android integration: For the seamless operation of their favorite apps on the move.
- AUX input: So even their friend with the off-brand MP3 player can DJ.
- Steering wheel control compatibility: To keep control at their fingertips, quite literally.
And for the discerning audio aficionado, the path to eargasm includes choosing between:
- Subwoofers: For that bass that can be felt in the chest as much as it can be heard.
- Amplifiers: When they crave more power and clarity.
- Speakers: Because what’s a car without an immersive sound stage?
These adventurers may also evaluate storied brands like JBL or Nakamichi, which resonate with the echos of sublime sound quality.
Installing the New Beast
With their chosen champion of sound in tow, they must now embark on the quest of installation:
- CD changer removal: It’s out with the old; that six-disc relic stands no chance.
- Amplifier removal: If present, they should remove it with the care one would use when unearthing ancient treasure.
- Wiring harness: This trusty steed of cables and connectors will ensure integration without a saga of electrical woes.
They must proceed with the installation, connecting the new unit with the prowess of a seasoned blacksmith forging a sword:
- Secure all connections with the ritualistic vigor of a knot at a royal wedding.
- Stow the new beast gently into its den, ensuring every screw and bolt is snug—else the rattling could drive one to madness during their highway serenades.
And thus, the upgrade complete, their Land Cruiser transforms, the dashboard no longer a mausoleum of audio antiquity, but a vibrant command center of sound and convenience.
A Little Extra: Tweaks and Finishing Touches
Once they’ve pried the last bit of dashboard away and freed the radio from its electric tendrils, one might think the journey ends. But no, there’s an encore—restoring the dashboard’s glory and ensuring all systems are a go.
Restoring the Dashboard’s Dignity
He’s not just going to slap that dashboard back like a piece of modern art. Oh no. Here’s the drill:
- Vents and temperature control wires should be snug as a bug; no rattles allowed.
- All those slots and crevices are like a puzzle, the radio fascia being the final triumphant piece.
If one finds themselves surrounded by parts that seem to need a degree in rocket science to reassemble, it may be wise to consult the manual or secure a fast-talking friend.
Testing, One, Two, Three
Next, they’ll want to run a symphony of sound tests because their Land Cruiser’s not complete without the sweet hum of a tweeter or the bass of a subwoofer.
- The dealer might’ve said those speakers were the bee’s knees, but are they truly producing the honey?
- If the rear subwoofer removal was on today’s to-do list, let’s ensure that no sound is escaping from where it shouldn’t be—like a ghostly hum from the trunk.
In their own makeshift sound studio, if the bass makes their heart feel like it’s about to hop out of their chest, and the treble’s clearer than their aunt’s crystal glassware, congrats are in order. If not, back to the screwdriver they go.