
*This post may contain affiliate links. As an Amazon Associate we earn from qualifying purchases.
How do you relate to your set of wheels? Are you the type to barely think about what makes those gears turn under the hood? Or are you interested in how well your ride runs?

How you relate to your vehicle can make a huge difference in your life. In fact, a few simple actions, when done consistently, can impact either how amazing your auto becomes or how much of a headache it can cause.
And it all starts with how much importance you give to that useful machine that gets you from point A to point B.

If you have a car then you need to have a safety kit in it.
This Emergency Preparedness Kit is a vital thing to carry with you in all of your vehicles as it will help not only in the case of a weather emergency but also in case of a breakdown.
You and Your Ride, One Path, Together
The road of life takes many twists and turns. And since the car was first invented, there’s been an endless amount of creative ways that people have related to this unique personal transportation tool. That’s why before we get into the nuts and bolts (yeah I went there) of DIY auto repair, it’s worth mentioning some of the ways you relate to/think about your vehicle.

What Your Dreams Say
Driving dreams are some of the most commonly remembered dreams because of how much importance we put on our well-being while behind the wheel. It’s a heightened situation, and what you’ve done to properly care for your vehicle, or not, can have a major impact on your psychological health overall.

Say you’ve been putting off changing out a headlamp and when you go to sleep that night, you have a dream that you hit someone because your ability to see is impaired due to the lack of light. The next night on your way home you start to worry and as it happens you get pulled over and are given a ticket for driving without proper functioning headlights.
So while you didn’t catastrophically hit someone, you do now have to pay a price for putting off this repair.

Sometimes our brain tries to tell us things in strange ways. Like in the previous example, someone’s subconscious can try to make a simple issue more pronounced by raising the stakes in the dreamlike state. But there could be even more meaning in these dreams than you realize.
When you have driving dreams, is the road ahead smooth or rough? Are you confidently headed for a firm destination or are you lost? Are you in the driver’s seat, or does someone else have control of the vehicle?

As you can see, how you process events in your life can lead to differing and potentially powerful automobile imagery in your restful hours. And these images could get especially amplified if there’s something up with your vehicle that you need to fix.
And if more people were proactive about vehicle maintenance, there’d certainly be a lot less angst on the roads.

Treating Your Auto Like You Treat Your Body
Automotive health and bodily care relate to each other in a multitude of ways. It’s beneficial to think in these terms, especially regarding the timing of your vehicle’s maintenance/how you might take a DIY auto repair approach.
As the old saying goes, an ounce of prevention is worth a pound of cure.

Let’s start with some obvious (and not so obvious) comparisons between your body’s systems and the system of an automobile. The oil and gas that you pump in are like the blood in your veins (which carry oxygen from the air your lungs take in).

The next parallel is between the radiator/cooling system in the car and the body’s perspiratory function (aka sweating). Just like a human body, if the engine gets too hot, it could fail and die. And similar to staying hydrated, it’s important to maintain your radiator and make sure there are adequate levels of coolant for your vehicle.

The electrical system in your car is what executes everything from igniting the explosion that propels your car forward to powering the incredible tech/entertainment systems that late model vehicles have these days.
It’s similar to the nervous system in the body, tasked with carrying essential messages from the brain to the organs themselves. It may seem like a less important component, but it is still essential.
The tires in your car are like the shoes you wear. Better tread will make sure your car doesn’t slip during inclement weather, and just like certain shoes serve different purposes, so do different types of tires.
It’s also incredibly important to keep the air in your tires balanced, because if you do you’ll ultimately get superior gas mileage (your car will roll more smoothly).
Vehicle Design and Your Car Today
There are certain things about the automobile that have not changed since it was invented. In other ways the improvements have been extraordinary. But certain design elements linger.
For example, the glove compartment remains a fixture in most vehicles, even though its original purpose was to store gloves that you’d put on before you went outside and cranked the engine to get it to start.
So even though some elements of car design and engineering may seem arbitrary, if you can understand how each complex system connects to the other, you’ll be on your way to being able to pursue DIY auto repair when the time comes.
Essential Systems in Your Vehicle
Like earlier when we were making comparisons between the human body and a car, each system supports all the others in unique ways. Each system is organized in the way that will best serve its given function and ultimately move the car the way you want it to move.
In order to fix these systems, it’s important to understand how they interact when they’re functioning properly.
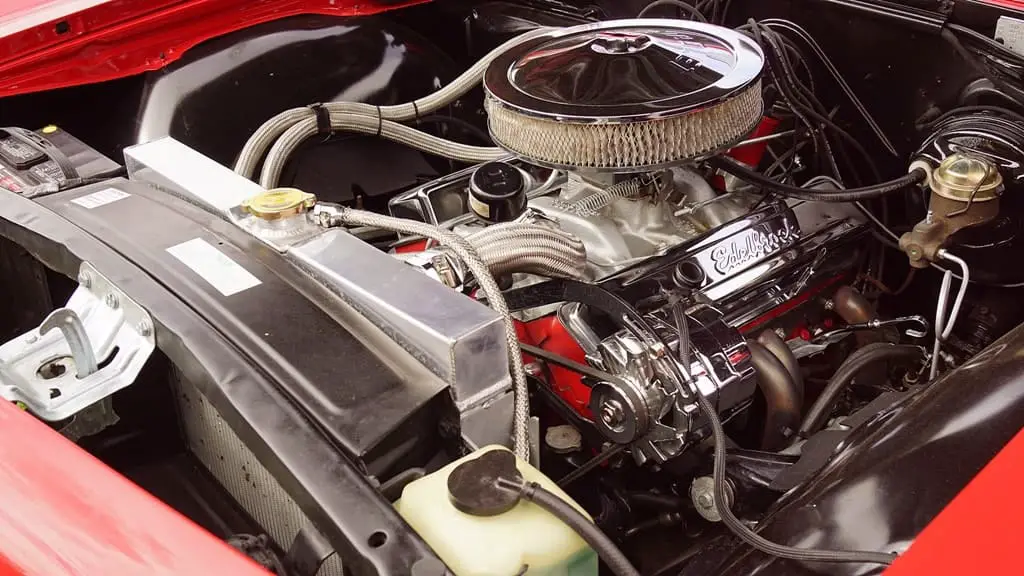
The Engine
It may surprise you to know that aside from advancements in efficiency, the internal combustion engine has not changed all that much since it was first implemented over a century ago.
In essence what’s happening is that a small amount of combustible fuel is ignited, and the explosion it produces is ultimately the energy that moves the vehicle forward.

Motor oil is what keeps the components of the engine lubricated and functioning properly, so regular oil/oil filter changes are essential to keeping the engine running longer. Old engine oil is dirtier from repeated use, so when it’s changed the new oil cleans the engine much more effectively.
The Drivetrain
The drivetrain is the system that delivers the energy from the engine to the wheels and turns them. This system also works closely with the transmission to make sure the energy from the engine is distributed properly depending on what speed the car is meant to move.
The Transmission
The transmission is the ‘brain’ of the drivetrain. It’s essentially a box of gears that distribute the power properly, somewhat similarly to the different gears on a bicycle in principle. Only in the case of a vehicle, there are far more speeds to vary between and the changes happen much more quickly.

As much stress as the transmission is under, it requires its own kind of fluid to keep the gears turning smoothly. Replacing transmission fluid is a much more involved process than an oil change, but it’s still achievable for all the DIY auto repair enthusiasts out there.
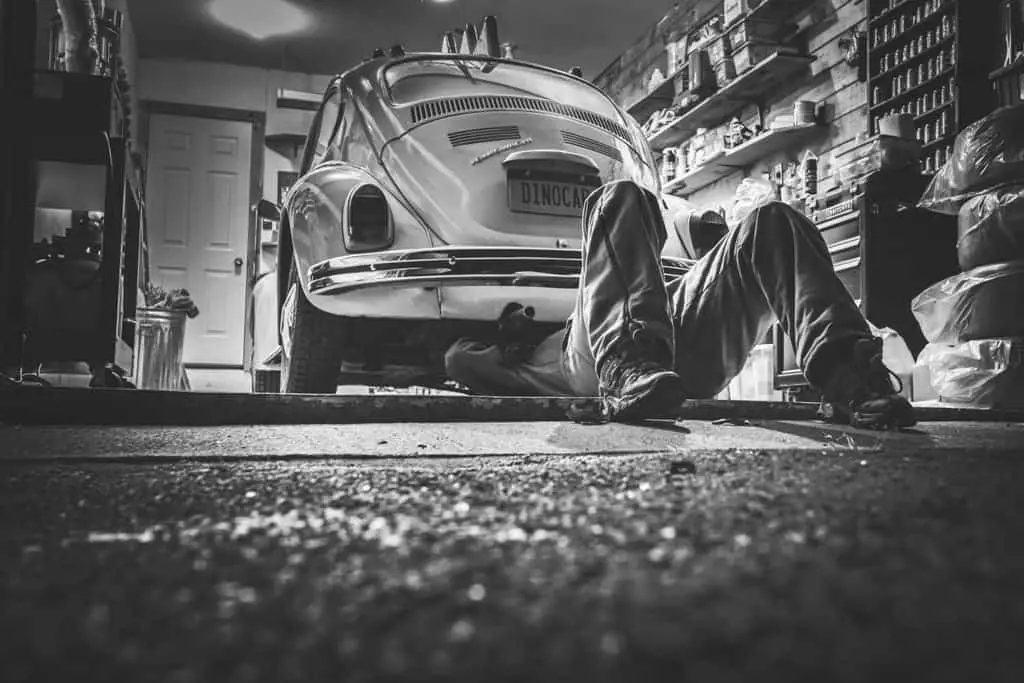
Entering the World of DIY Auto Repair
There are three levels of working on your own automobile and your degree of experience will determine what level you work on. The following graphic will give you the different types of repairs you can do, its level of expertise, cost, and the average time it will take to complete.
If you don’t find the information you’re looking for here, it’s probably time to go see an auto mechanic
| Repair Type | Level | Cost | Duration |
|---|---|---|---|
| Changing the car battery | Beginner | 50-200 dollars | 30 min |
| Changing your own oil | Intermediate | 20-35 dollars | between 20 and 45 minutes |
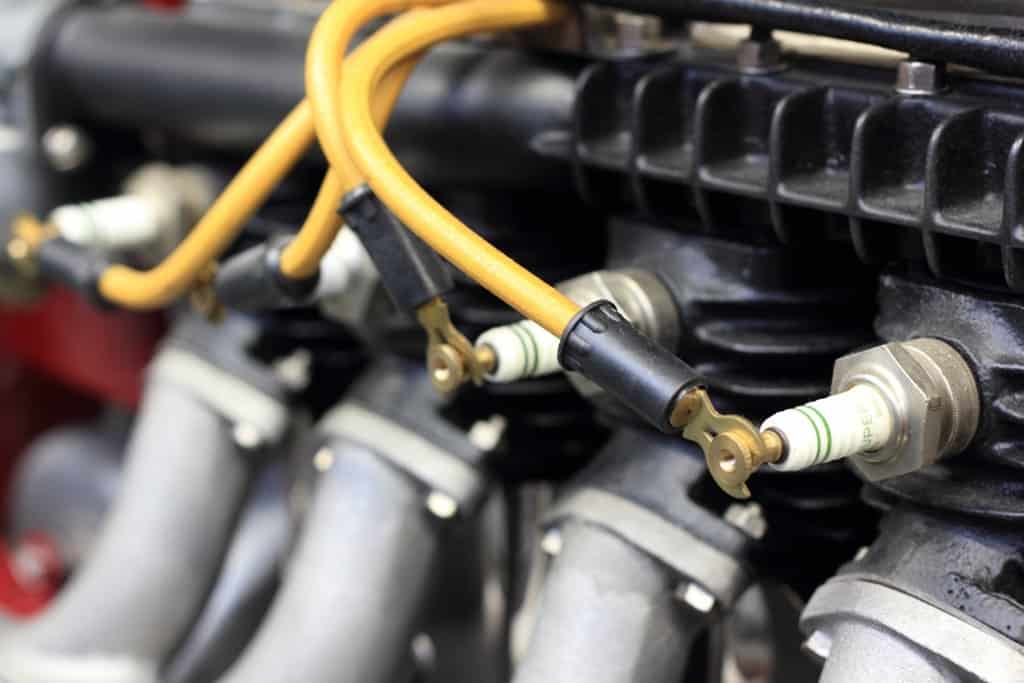
| Changing your own spark plugs | Intermediate | 15-100 dollars depending on how many spark plugs you’re replacing | up to four hours |
| Replacing your headlights or taillights | Beginner | 10-30 dollars depending on the light | 15-30 min |
| Replacing your own windshield wipers | Beginner | 10-25 dollars | 10-20 minutes |
| Replacing the air filter of your engine compartment or in the cabin (interior) | Beginner | 10-20 dollars | 10-15 minutes |
| Fixing a ding in the glass of the windshield | Intermediate | 10-72 dollars depending on the cost of resin | 15-25 minutes |
| Changing your own brake pads | Intermediate | 150 dollars per axle | 1 hour |
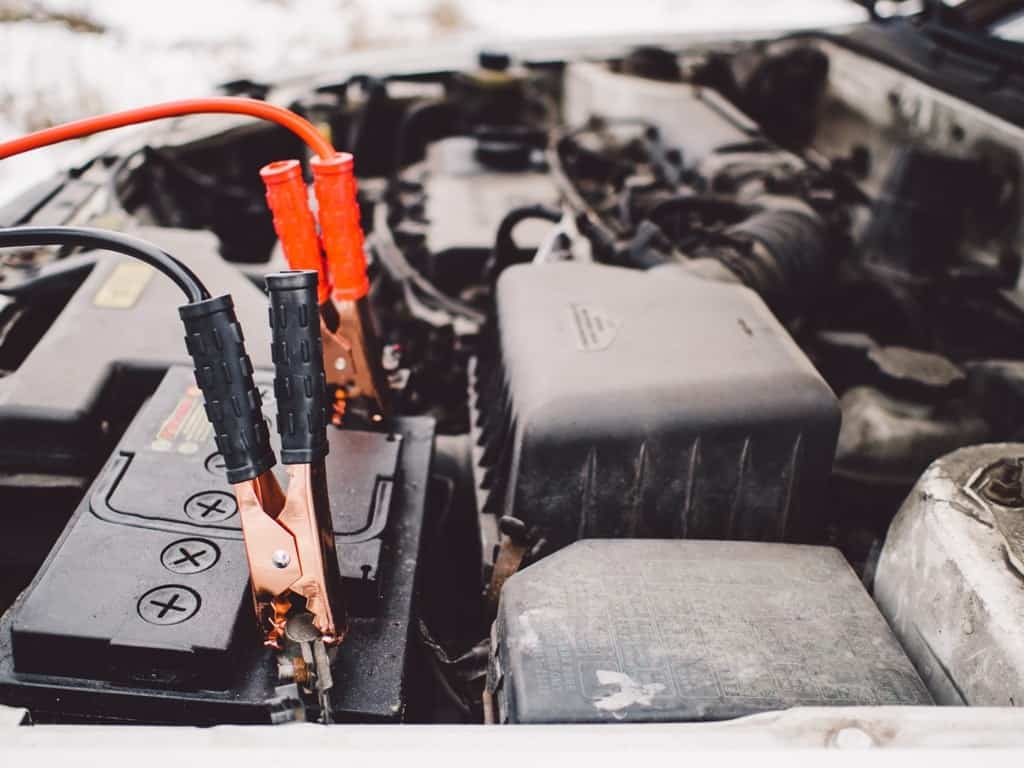
Changing the Battery
Changing the car’s battery is perhaps one of the simplest fixes there is and the most time-consuming part of this process is actually picking up the battery from the auto parts store. It’s important to solve this issue quickly once your previous battery dies, because without a properly functioning battery, the vehicle will not start.
At the Auto Parts Store
When you stop in to the auto parts store there will usually be a couple of friendly associates ready to help you find what you need. Usually, these people can also be a good knowledge checkpoint for you to bring your basic questions to about what you’re attempting.
If it’s a simple enough fix, they may even do it for you for free (it’s not unheard of for an extra helpful associate to install your wiper blades for you while showing you how).
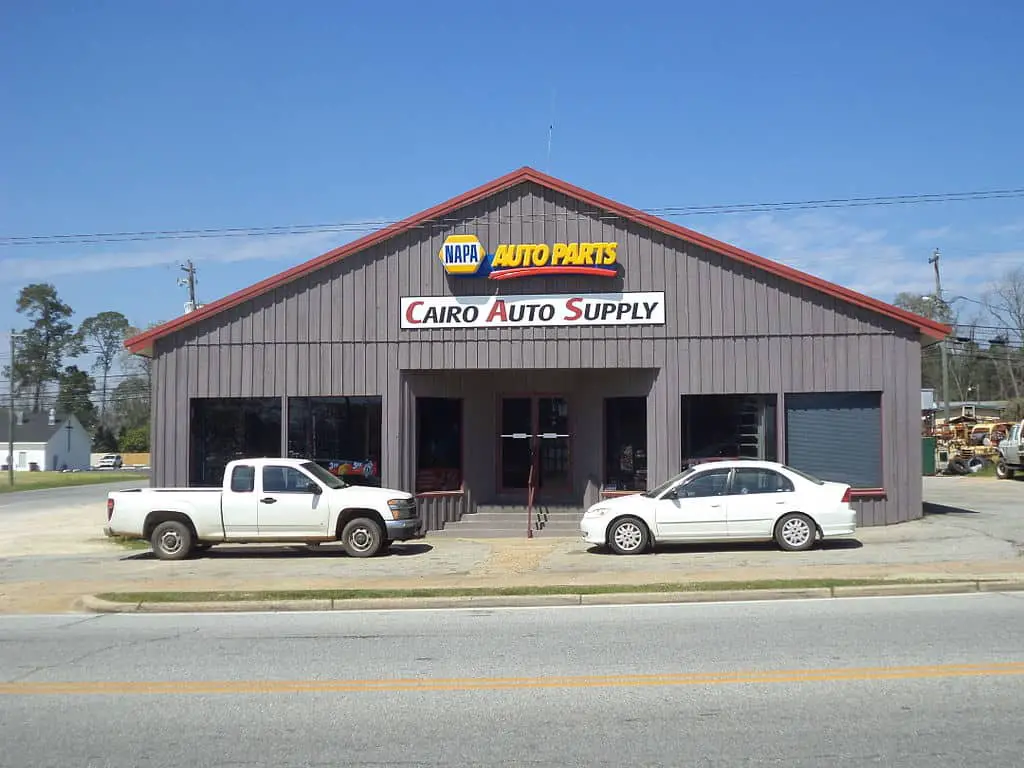
You’ll want to recycle your old battery here as well. This will give you a minor credit toward the new one and is better for the environment. In fact, the most efficient way to do this is to change the battery in the parking lot of the auto parts store because then you can drop off your old battery and drive away with your new one.
Changing the Battery Step 1 – Preparation
Make sure that the car is off, and in park, with the emergency brake on. Pop the hood and find the location of the battery. If you need help with this, you can check the manual for your vehicle (usually located in the glove box).
Changing the Battery Step 2 – Disconnecting the Old Battery
Once you find the battery under the hood, loosen the nuts holding the cables in place. Remove these using a pair of pliers. Disconnect the red cable and the black cable.
Changing the Battery Step 3 – Pulling It Out
Once the old battery is fully loose, you’re free to pull it out. Be sure to brace yourself as car batteries can be quite heavy. Once it’s out you can begin prepping the new one.
Changing the Battery Step 4 – Clearing the Corrosion
If you have battery cleaning fluid, great. If not, a simple mixture of baking soda and water will do. Be sure to clean off any corrosion from the battery tray, and the ends of the cable connectors.
Extra important to remember that everything is turned off during this whole process.
Changing the Battery Step 5 – The New Battery
Place and secure the new battery, and connect the red and black cables up and tighten them accordingly. Make sure the battery is securely in place by seeing if you can move it from side to side.
It should stay in place if you’ve fastened it properly.
Changing the Battery Step 6 – Will It Start
If you’ve finished up correctly the vehicle should start, and you should be on your way. If not, check to make sure you’ve connected everything up properly and securely.
And perhaps if there’s a person that’s free at the auto shop, they can come out and take a look if you’re still having issues.
Changing Your Own Oil
This one is most useful for the truly curious. Because now there are facilities specifically dedicated to changing your oil, the cost savings of a DIY auto repair in this realm will be minimal.
But if you’ve always wanted to try this and see the process for yourself, then feel free to get started.
Changing Your Own Oil Step 1 – Preparation
Make sure you’re outdoors and on an area you don’t mind potentially spilling oil on. Have a proper jack ready to elevate your car as needed. Also have your toolbox, some rags, and a pan large enough to catch the old oil.
Then warm the car up for a couple of minutes to get the current oil flowing before you turn it back off again. Once this is done go under your car and find the drainage plug. Depending on what kind of vehicle you have you may have to look up the location, and if it’s not easily reachable, that’s where your jack will come in handy (make sure you know how to jack a car up before you attempt to use the jack, improperly using a jack can be dangerous).
Changing Your Own Oil Step 2 – Draining the Old Oil
Be sure to have a rag handy and your tray underneath to catch the old oil. Unscrew the drain plug and move your hand away quickly once it’s out. The old oil should flow out from where the drain plug once was.
Changing Your Own Oil Step 3 – The Filter
Unscrewing the filter is the next step. Make sure to be careful not to spill any oil contained in the filter. If there are pieces of the rubber seal left behind, be sure to remove that as well.
Changing Your Own Oil Step 4 – Old Oil/Filter Disposal and New Filter
Wrap up the old filter in a rag or paper and set it and the old oil aside to be recycled. Grab your new oil, dip your finger in it and apply it to the new filter gasket. Follow the steps on the new filter and screw it in.
Changing Your Own Oil Step 5 – Refastening the Plug
Wipe around the area where the plug goes and ensure there’s no residue. Then refasten the drain plug. If there’s a gasket, make sure you install this properly as well.
Tighten the plug with an adjustable wrench.
Changing Your Own Oil Step 6 – New Oil
After unscrewing the cap under the hood, pour about a quart of oil in and allow time for it to drain in. Using a funnel will help prevent spills here. Run the engine for about a minute, then shut it off and make sure there are no leaks around the drain plug.
Changing Your Own Oil Step 7 – Adding More Oil
After waiting a few minutes, then add more oil a little bit at a time, checking the dipstick every time you add another significant amount in. Eventually, the level of the dipstick should read full.
Make sure you’re checking the dipstick properly (removing and wiping with a lint free rag, then re-inserting and checking for the proper level).
Changing Your Own Oil Step 8 – Recycle
Once your oil has been brought up to ‘full’ according to the dipstick, take your old oil and recycle it at the auto parts center. Well done! You’ve just changed your own oil.
Replacing Your Headlights or Tail Lights
It’s important to make sure your headlights and taillights are functioning properly. This is a great place to start if you’re new to DIY auto repair as it’s a relatively simple process.

Every vehicle is different, so make sure to check the manual to see how accessible these lights are (or just look under the hood and check the for the headlight assembly). Also, in this case, YouTube is your friend.
A simple search for your vehicle model and the phrase ‘change headlights’ or ‘change tail lights’ should yield you a fantastic video instructional to help you out with whichever light you’re replacing.

But YouTube is your friend for more than just this. It’s an incredible resource when tackling even more complex DIY auto repair as well. Just make sure the channel/person who has posted the video is reputable.
Perhaps they’re already a mechanic and work at a shop, or they have a background in DIY auto repair and have a specialized channel for a variety of projects.
Replacing the Air Filters
Whether you’re looking to replace the cabin air filter or the engine compartment’s air filter, either situation changing out the old for the new is a simple process. In a lot of cases, most express oil change spots will include this in one of their packages, but because it’s so simple it easily makes the list of beginner DIY auto repair items.
This is also one of the most satisfying DIY auto repairs you can do. It only takes a matter of minutes, and instead of paying someone to take this simple action, you can do it yourself and save the money. It’s a win-win!
Replacing the Air Filters Step 1 – Buying the Air Filter You Need
A friendly auto parts associate will point you in the direction of the filter you need. This person will also probably check in with you and see if there’s anything else you might need, or talk about what specials they might be running.
Replacing the Air Filters Step 2 – Locating the Filter Box
Finding the filter box whether in the cabin or engine compartment is relatively simple. Your manual should be able to confirm these locations. Many cabin air filter locations are near or inside the glove compartment.
Replacing the Air Filters Step 3 – The Old Filter
Take the old filter out of the filter box and take a look at it. How dirty is it and what are some of the odd things that have gotten caught up in there? How it looks should tell you if you waited too long to replace it or if you replaced it too soon, though usually, it’s the first instance.
Replacing the Air Filters Step 4 – The New Filter
Place the new filter in the filter box and make sure it’s secure. You may hear a noise as it clicks into place. This is a good sign that it’s securely fastened.
Benefits of Regular Filter Replacement
Congratulations, you and/or your engine can breathe easier because you’ve just replaced the filter. This of course obviously benefits your health in the cabin and in the engine compartment it will help reduce emissions, prolong engine life, and optimize your fuel economy.
Repairing a Small Crack in a Windshield
The windshield is an incredibly important part of your car. It makes sure you can see what’s in front of you, and is strong enough to protect you from the elements outside of your vehicle.
One small crack could seem meaningless, but then grow over time into a larger problem.

It may seem like a nuisance to repair something like this, but it’s in your best interest to do something more comprehensive than just covering over the cack with packaging tape (although this may work well in the short term). Going to an auto parts store and talking to an associate is your best bet here, as this person knows precisely which kind of resin you should use to fix the ding.
The slick marketing of windshield repair companies might seem appealing. But don’t go with that option unless you have the money to burn or simply don’t have time to fix this yourself. A package of glass repairing resin costs as little as 10 dollars, and will usually include the steps to applying it properly on the side of the box.
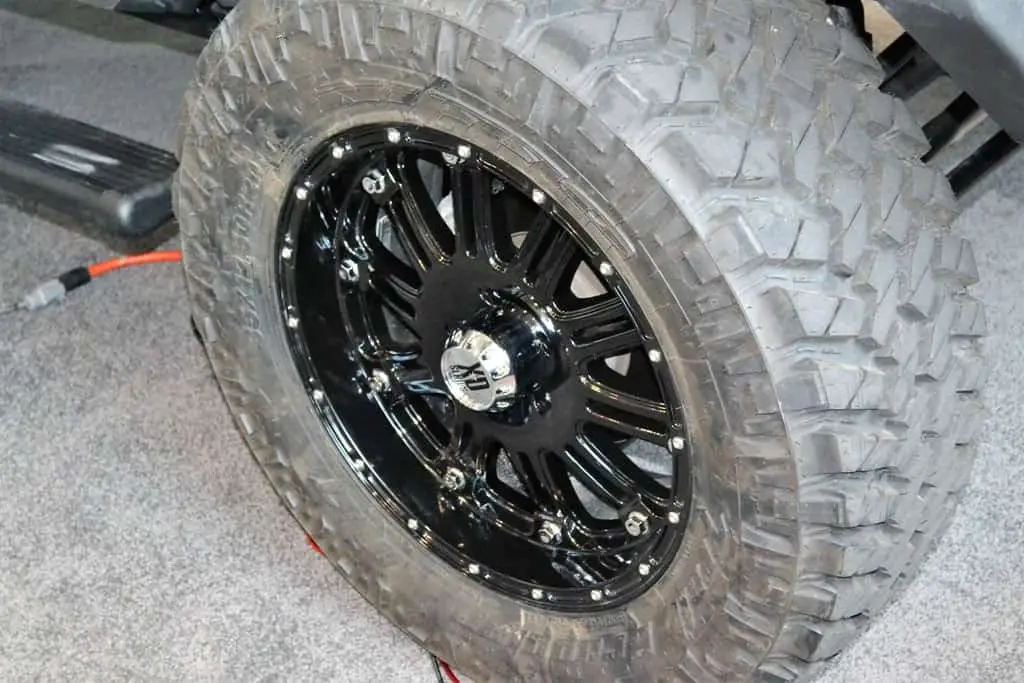
Maintaining Proper Tire Pressure
On some newer cars, there are actually sensors that will tell you exactly what the pressure of your tires are at all times. If you have one of these kinds of vehicles, lucky you. Otherwise, it’s always good to keep a tire gauge in your glove compartment so that you can check your tire pressure regularly.
If it’s been a while since you’ve put air in your tires anyway, it’s a good idea to pull up to your nearest gas station that’s got pressurized air and balance out your tires in the process. Be sure to either check the manual or the sticker on the inside of the driver side door and there will most likely be a suggestion of what level psi your tires require.
If you can’t find that, a good guideline to go by is anywhere between 32 and 35 psi when they’re cold.

Keep in mind that excessive heat causes the air pressure to increase, and the reverse with cold temperatures. So if it’s winter time, feel free to fill the tires up to the upper end of that suggestion and to the lower end if it’s particularly hot outside.
The benefits of balancing out your tire pressure means prolonged tire life and better gas mileage.
In order to fill your tires, twist the cap off of the small tube on the near the hubcap. Fasten/press the pump to the tube and when you don’t hear air escaping anymore pull the trigger mechanism to fill the tire with air. Make sure to check every few seconds to see where you stand psi-wise.
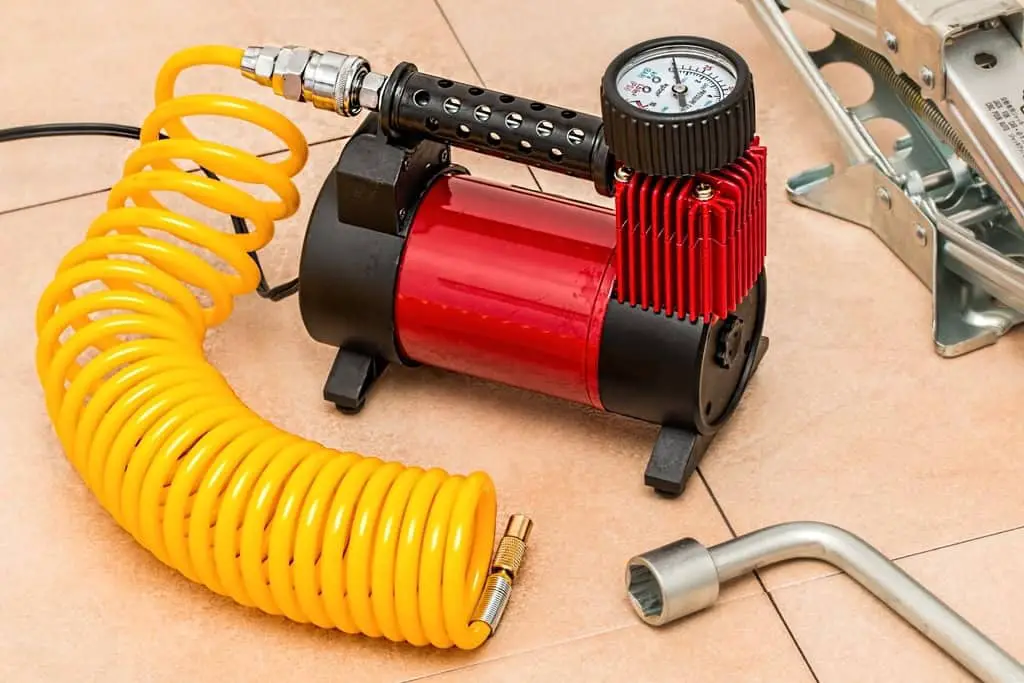
Once all the tires are equal, screw the caps back on each of them and you’re ready to go. Congrats! You’ve balanced the tire pressure on your tires.
When to See a Professional
Unless you’re an experienced mechanic yourself. There are certain instances where seeing a professional is going to be your smartest option. Depending on the system of your car that’s to be affected by the repairs and how much maintenance is required will determine if your trusted mechanic will be the option you choose.
In many cases, the mechanic simply has the most efficient tools for the job and the expertise to use them effectively.
Generally speaking, there are certain areas that should solely be handled by a professional, though it’s important also to do your research regarding the repairs you need beforehand as well. Is there a specific light that’s come on that could mean a few different things?
While that light is on how does the car feel when you’re driving and what do the gauges say?
One of the worst/most confusing offenders when it comes to your car’s alert lights is the ‘check engine’ light. When it comes on it could mean anything from simply not fastening the gas cap tightly enough, to the possibility of total engine or transmission failure.
If that sounds like a ridiculously broad spectrum, that’s because it is.
Doing your research and looking up what the problem could be (based on your observations and which alert lights are lit up) will allow you the freedom to have exactly the work done by the mechanic that’s needed. Nothing more and nothing less.
Especially if this is a new relationship with an auto repair shop, there’s a chance that they’re going to want to upsell you, meaning they’ll want to make fixes on your vehicle that are smart to do, but are not especially urgent.
If there’s a major problem in one of the core systems, like the engine, the transmission, the alternator/front or rear end, the radiator, the oil tank, or the alignment/positioning of the axles, then it’s probably a good idea to see a pro.
Even if you want nothing more than to have the mechanic diagnose your problem, there’s a good chance that you’ll learn exactly what steps you need to take to get it fixed. Best not to chance it if it’s a major system though.
There’s a good chance that if you’ve found a quality mechanic, this person has seen issues like the one you’ve got before, and can fix it without too much hassle depending on the parts that are needed.
Additional Resources, Never Stop Learning
As you continue down the path of DIY auto repair, it’s important that you keep learning, and eventually, you’ll be able to tackle more complex fixes. Remember that Youtube is your friend, and that there are always more experienced experts to learn from.
Check out your local listings and see if there’s a local group of motor enthusiasts that you can join.
Car Talk
Another great resource to look into is the classic radio program ‘Car Talk.’ One of NPR’s most popular on-air programs, the hours of this Peabody Award-winning show are composed of two brothers, Tom and Ray Magliozzi.
Their on-air personalities/names are ‘Click’ and ‘Clack’ the Tappet brothers.
This is a great program to listen to archives of because not only is it informative and deals with foundational tools and skills essential to DIY auto repair, but it’s also hilarious. The two brothers also act as comedians, making fun of each other and bringing some light-heartedness to what can sometimes be stressful news to have to give people.

Unfortunately, the show discontinued weekly episodes in 2012 because of Tom’s declining health. He ended up passing away in 2014 due to complications related to Alzheimer’s disease, but through the course of his life on and off the show, he was an amazing presence of a man.
Car Talk ran from 1977-2012, a grand total of 35 years.
Further Online Resources
There are also plenty more online resources that a little bit of browsing can uncover. The ‘DIY Auto School’ channel on YouTube can show you how to implement bodywork/design in addition to instruction on the functional aspects of your car.
Finally, don’t forget to look at Carfax vehicle reports when researching the vehicle you may want to invest in. Certain makes/models are more likely to encounter trouble in certain systems than others. This is a function of how the car was originally designed coming off the factory line, and some of these problems aren’t always covered by a dealer warranty.
Final Thoughts
It’s important to remember why you’ve decided to start down the DIY auto repair path in the first place. Always assess the risks of the particular DIY process before you begin. You’ll find much more satisfaction this way.
There’s an indescribably great feeling when you start up a vehicle that you’ve worked on yourself. Everything sounds like it’s humming smoothly. You trigger the mechanism you’ve fixed and it simply works.
It boosts your confidence. Reminds you that you too can count yourself among the ranks of people that have mastered a certin aspect of DIY auto repair. And can be a future resource to your friends, should they ever experience a similar issue.
And the next time you’re cruising down the road and you get that feeling. You’ll remember that the next time something needs to be looked at again, you’ll have the knowledge and expertise to approach the repair from the driver’s seat.