
*This post may contain affiliate links. As an Amazon Associate we earn from qualifying purchases.
Removing a transfer case from a Toyota Land Cruiser can seem as challenging as wrestling a greased pig – slippery, unpredictable, but oddly satisfying once accomplished. However, this mechanical rite of passage is essential for those adventurous souls who encounter the telltale signs of transfer case trouble. Whether you’re dealing with a leaky seal or a mysterious clunk that’s haunting your drivetrain, fear not! With a robust set of tools, a bit of elbow grease, and a dash of patience, any Land Cruiser aficionado can tackle this task and live to tell the tale.
Embarking on this operation requires a strategic approach, not unlike when one prepares a battle plan for an epic game of tug-of-war against a stubborn mule. It all starts with understanding your Land Cruiser’s 4WD system, the significance of the transfer case, and the conditions under which you’d shift from 2WD to 4WD—or vice versa—like a masterful gear-shifting maestro. The initial stages are critical, involving preparation and disassembly, which set the stage for a smooth removal process. And with careful attention to detail, reassembly won’t feel like trying to solve a Rubik’s Cube blindfolded.
Key Takeaways
- Successful removal relies on proper preparation and the right tools.
- Step-by-step disassembly leads to safe and effective transfer case removal.
- Reassembly requires careful attention to ensure optimal performance post-operation.
Prepping for Surgery on Your Land Cruiser Transfer Case
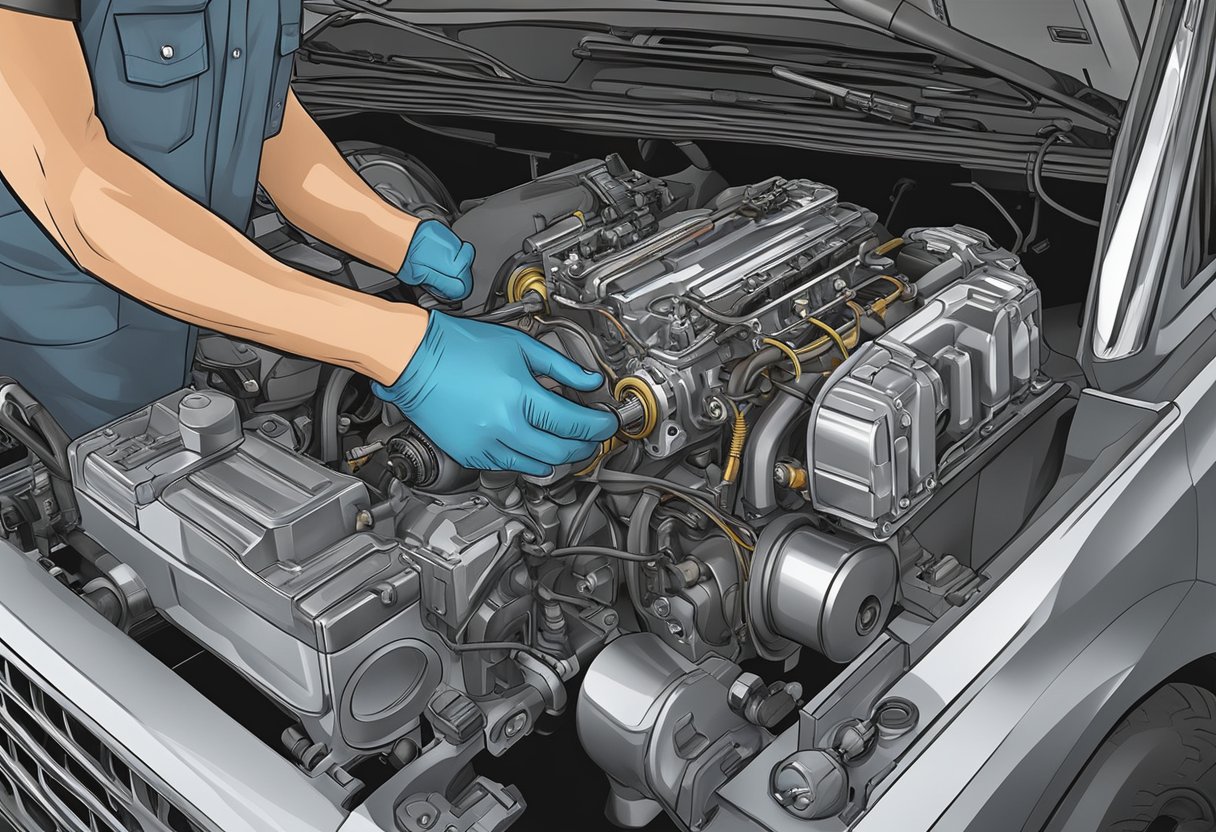
Before diving into the operation, one must ensure that all the right instruments and preparations are in place. Think of it as prepping for a game of Operation, only the buzzer is your Land Cruiser moaning in discontent if you mess up.
Gather Your Tools and Parts
First, the surgeon needs the proper tools. One wouldn’t use a butter knife for a scalpel, and similarly, inappropriate tools just won’t do. Here’s what you’ll need:
- Socket set: For all those bolts that are hanging on for dear life.
- Wrenches: The stickier companions to the sockets.
- Hammer: Just in case something needs a little persuasion.
- Snap ring pliers: For those pesky snap rings.
- Transfer case gasket: The unsung hero preventing leaks.
- Seals: Like gaskets, but often round and rubbery.
- Fluid catch: Because spillage is for amateurs.
- Parts: Whether it’s from eBay or Amazon, ensure you have the necessary parts like chains or planet carriers for models such as the FJ40, FJ60, or FJ62.
Next, the patient—your Land Cruiser—requires some prep:
Vehicle Prep Steps
They say cleanliness is next to godliness, and that applies to surgery on your Transfer Case too. Here’s how to get your vehicle ready:
- Step 1: Hoist that beast up. Your Cruiser needs to be lifted with care, preferably with secure lift points and jack stands.
- Step 2: Drain the fluids. Nobody wants a mess on the operating floor.
- Step 3: Disconnect the negative battery cable. No surprises with electricity, thank you.
- Step 4: Refer to the trusty service manual. It’s like the sacred texts for your mechanical escapades.
- Step 5: Start by detaching the driveshafts. Remember, each bolt removed is a step closer to victory.
- Step 6: Unfasten any electrical connectors clinging to the transfer case. They might resist, but a firm yet gentle tug should persuade them.
- Step 7: Unbolt the transfer case from the transmission. Patience, surgeon, patience. This isn’t a race.
Remember, the mechanic’s creed: “Righty-tighty, lefty-loosey.” Good luck and may the torque be with you.
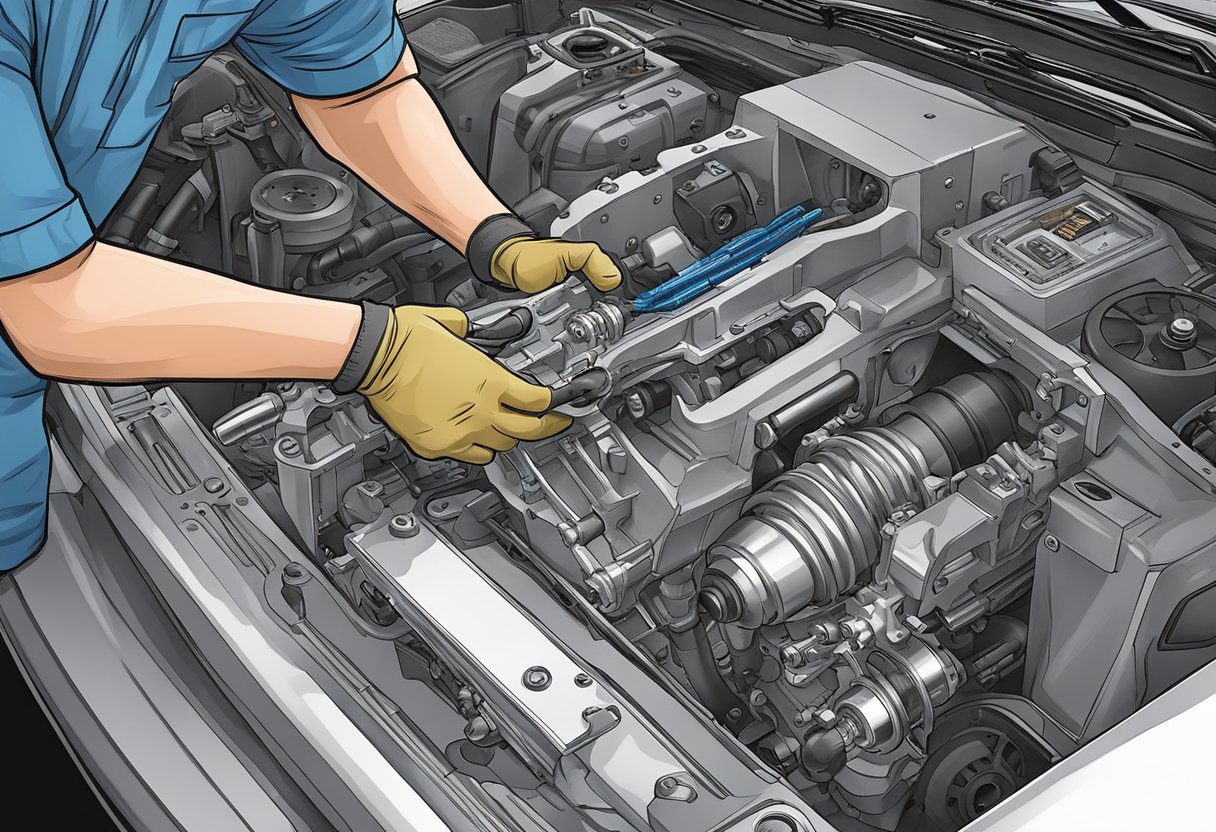
The Disassembly Dance
https://www.youtube.com/watch?v=lt1QqraRD30&embed=true
Before one dares to tango with the task of removing a Land Cruiser transfer case, they must acknowledge the intricate steps of the disassembly process. It’s not a waltz in the park; each move must be precise.
Removing Drive Shafts and Flanges
The dance begins with the gentle unbuckling of the drive shafts and the flanges. This duo performs a critical role in the whole operation. One must:
- Mark the drive shafts: To ensure a happy reunion during reassembly.
- Unbolt the drive shafts: Because they need this breather more than the transmission.
- Remove the flanges: But treat them like royalty or face their corrosive wrath.
Separating Transfer Case from Transmission
This step is akin to splitting up a band that’s been jamming seamlessly for years.
- Disconnect the breather hose; let it breathe.
- Shed all the bolts holding the transfer case to the transmission.
- Be ready to catch the transfer case: it might just leap off the output gear.
Here’s a handy breakdown:
| Task | Details |
|---|---|
| Disconnect | Breather hose and electrical connections |
| Unbolt | All fasteners joining the transfer case to the transmission |
| Separate | Pry the case gently away from the output shaft |
The Great Teardown
Now it’s time to lay all cards on the table.
- Remove any snap rings—they’re sneaky like undercover agents.
- Extract spacers and bearings with finesse.
- Remain vigilant for debris that could sabotage the mission.
Note: Always check for that proverbial pebble in the shoe, hiding in a spacer bolt hole or near the center diff, eager to derail the operation.
Removing the Stubborn Bits
https://www.youtube.com/watch?v=8UrLzHnj4Pk&embed=true
Before launching into the mechanical ballet of dislodging reluctant parts, remember that patience and the right technique turn a wrestling match with snap rings and bearings into a victory dance.
Ejecting Snap Rings and Bearings With Flair
Some snap rings and bearings cling to their homes like a cat to a warm lap. Getting them out without launching a litany of creative expletives can be an art form. They’ll often require snap ring pliers with an attitude; slide them into the snap ring’s eyelets with a dash of finesse, and expand them with a confident yet gentle tug. Once released, it might just soar across the garage, so keep that magnet handy to catch any flying metallic critters.
To remove bearings:
- Warm it up: Gentle heat can coax a bearing out more easily; think of it as giving the bearing a spa day before its eviction.
- The idler shaft shuffle: An idler shaft can be shy. Tapping it out may need a drumroll and a chorus line of precision tools.
The Fine Art of Dealing With Internal Gears
The internal gears can challenge even the steadiest of hands. The clutch sleeve, similar to a magician’s assistant, is crucial to the gear surprise but can stick like gum on a hot sidewalk.
- Low range reduction gear: Like a sulking teenager, it may not want to come out. Sometimes, one needs to apply reasonable force, but remember, no temper tantrums allowed.
- Oiler cup provision: Treat it like a sensitive artist; approach with respect and a steady hand.
Internal gear tips:
- Tap the clutch sleeve gently, it should come free with a little persuasion.
- Align the ball bearings in a line as if setting up for the world’s tiniest game of bowling to get an even pull on the gear.
Finishing Touches Before the Reunion

Before this chunky, rugged beast hits the road again, one must ensure that every component is in tiptop shape. These final steps are crucial for a successful transfer case reunion with the transmission.
Cleaning and Inspection
After the great separation, the transfer case likely sports dirty attire. Before dressing it up again:
- Degrease each part with gusto, scrubbing till they shine like new pennies.
- Inspect every nook and cranny for wear, because nobody likes a surprise breakdown. Particularly eye those seals and gaskets, as they tend to gossip about potential leaks.
Reassembly Rave
It’s a party in the service bay once all pieces are spic-and-span:
- Start with the lever arm hi/low and the gold cad arm—they need to groove perfectly together.
- Those opting for a manual shift conversion—align that roll pin like threading a needle at a disco.
- Skid plate and spring come next; make sure that the plate doesn’t act like a wallflower and the spring keeps its bounce.
Sealing and Addressing Fluids
Sealing the deal is more than a handshake here:
- Gaskets must be laid down like a red carpet, ensuring a star-studded, leak-free performance.
- Lube up! A fluid change is like the grand finale—use quality oil to keep the differential, fj62, front and rear drive shafts, and everything else as smooth as a lounge singer’s voice.
Now, with last bolts tightened and every part double-checked, it’s curtain call for the transfer case—time for that joyous reunion with the transmission. Cue applause!