
*This post may contain affiliate links. As an Amazon Associate we earn from qualifying purchases.
Removing the gear stick, or gear lever, from a Land Cruiser is an undertaking that can evoke the spirit of an intrepid explorer in even the most pedestrian of DIY auto enthusiasts. Picture this: beneath the rugged exterior of a Land Cruiser, lies the heart of its driving experience—the manual transmission. The gear lever itself presides over this kingdom, a totem of control and authority. But, should the time come for repairs, cleaning, or replacement, this regal scepter must be temporarily dethroned.
Venturing into the realm of the gear stick requires a methodical approach, akin to preparing for a grand expedition. This quest begins not on the open roads, but within the sheltering confines of the vehicle’s centre console. The gear lever lives here in contented harmony, but, with the right tools and a dash of courage, you’ll soon discover that its majestic presence is not a permanent fixture. With careful maneuvers and tactical foresightedness, the removal process transforms from an inexplicable mystery to a rewarding adventure, yielding to those who approach with respect and a smidgen of elbow grease.
Key Takeaways
- The gear lever is an essential component, dictating the manual transmission’s command.
- Removal requires specific tools and understanding the layout of the centre console.
- Executing the process with care ensures a successful extraction and subsequent tasks.
Get to Know Your Gear Stick’s Habitat
Before diving under the dash or crawling beneath your Land Cruiser, it’s critical to understand where the gear stick lives and its surrounding ecosystem. It’s not just about yanking it out; one must navigate through the intricate landscape with precision and care.
Exploring the Centre Console Jungle
Ah, the centre console, a dense forest where many an adventurer has lost their screws and sanity. It’s inhabited by a complex network of components, each crucial to the gear stick’s very existence.
- Ring: This creature isn’t just lounging about; it’s crucial for keeping things tight.
- Wiring: Like vines, they sprawl across the landscape, connecting the gear stick to the electronic world beyond.
One must maneuver with finesse to avoid disturbing the native wildlife (like that half-eaten candy bar from last year’s road trip).
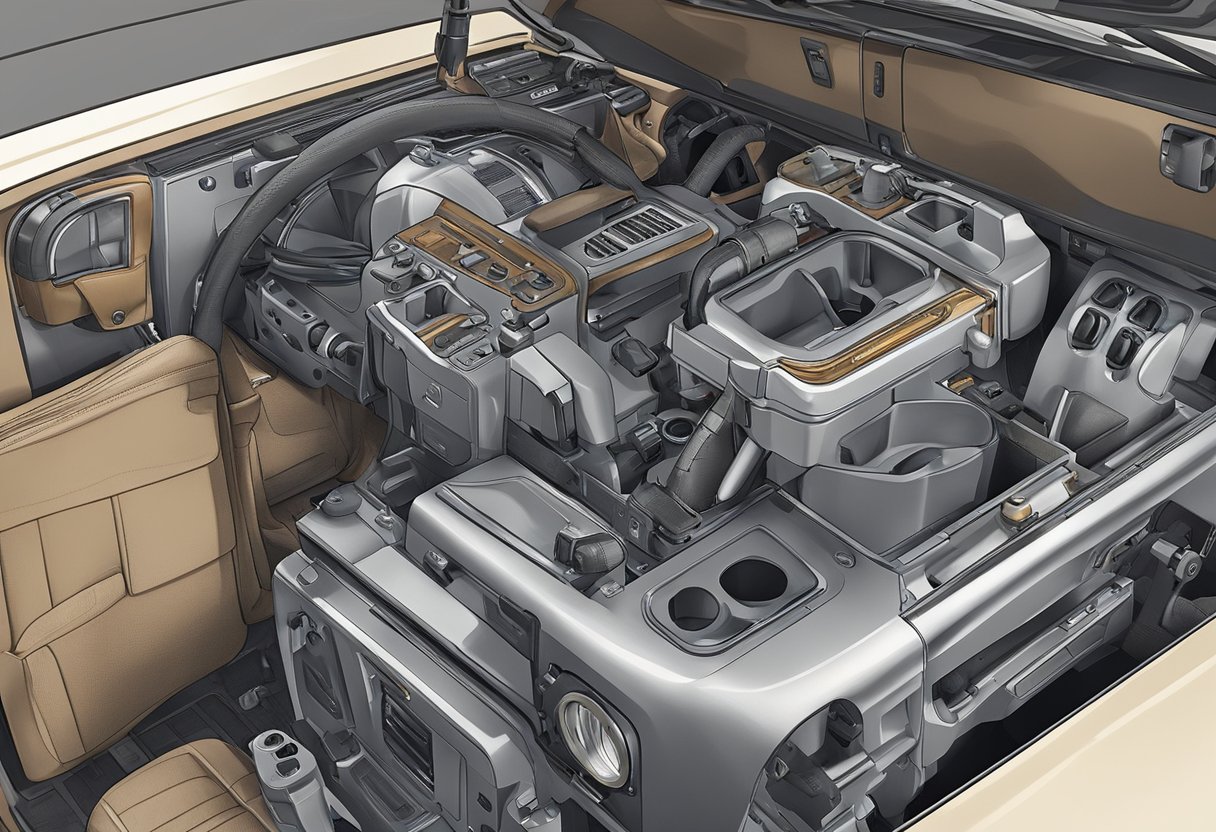
The Mysterious Depths of the Manual Transmission
Deeper still, one will uncover the gear stick’s subterranean lair: the gearbox. It’s a cavernous realm where the:
- Spring: Energetic as a caffeinated kangaroo, it keeps the gear stick hopping to your shifting whims.
- Gearbox: Like the final boss in an epic quest, the gearbox is where the magic happens, where power transmutes into motion.
Ace the spelunking expedition through the gearbox, and one will master the noble art of gear stick removal.
Prepping for the Gear Stick Expedition
https://www.youtube.com/watch?v=tnTadrQove8&embed=true
Before one dares to venture into the mechanical jungle of their Land Cruiser’s underbelly, they must gather the right tools and adhere to safety protocols. It’s crucial to be prepared for the gear stick removal saga—it’s not just a twist and shout affair!
Gathering Your Gear(head) Tools
One can’t simply expect the gear stick to jump out on its own. The successful gearhead explorer needs to assemble a trusty toolkit. They must ensure their arsenal includes:
- Closed end wrench: The secret handshake to bid farewell to the gear stick.
- Trolley jack: For lifting the four-wheeled beast, a must-have for any serious expedition.
- Screwdrivers: To poke around respectfully and undo what needs to be undone.
Safety First: Engine & Transmission Protocols
When it comes to safety, our intrepid mechanic knows that laughter is best served with all ten fingers still attached. Hence, they follow these golden rules:
- Engine cooldown: Let’s not play hot potato with the engine. Make sure it has cooled down before getting too handsy.
- Transmission contemplation: One must ensure the transmission is secured. A wandering transmission can ruin more than just a day.
- Engine mounts inspection: Being on good terms with the engine mounts is crucial; they’re the guardians of the gear stick realm.
- Push protocol: Sometimes, a gentle push is all it takes. But only with the right technique—no Hulk smashes please.
One must respect the quirky personality of each Land Cruiser—some gear sticks require the finesse of a tango dancer, others the firm push of a sumo wrestler. Either way, correctly prepping for the gear stick removal is the secret sauce to a hassle-free automotive DIY adventure.
The Great Gear Stick Removal Adventure
https://www.youtube.com/watch?v=obTbEOItUlg&embed=true
Embarking on the journey to remove a Land Cruiser’s gear stick is an expedition not for the faint of heart. The intrepid mechanic must travel through the jungles of machinery and face two formidable foes: the pressure plate and the clutch release cylinder.
Unearthing the Gear Stick
Before the great excavation begins, one must understand that the gear stick is the storied guardian of the gearbox kingdom. To coax it from its lair:
- Locate the gear stick: Usually found protruding nobly from the vehicle’s interior.
- Expose the screws or clips: These crafty little artifacts hold the gear stick boot in place.
- Remove the boot to reveal the base plate that secures the gear stick to the transmission.
- A mythical twist is often required, which could involve a counterclockwise turn or a swift pull upwards.
Battling the Pressure Plate and Clutch Release Cylinder
Journeying deeper into the Land Cruiser’s cavernous underbelly, one encounters two beasts:
- The pressure plate, who tirelessly clamps the clutch disk against the flywheel with Herculean strength.
- The clutch release cylinder, a sly creature that uses hydraulic might to push against the pressure plate and liberate the clutch disk.
Victory arrives when they relinquish their grip on the input shaft, preferably without a brawl. Here’s the strategy:
- Unbolt the pressure plate with care lest it springs forth unexpectedly.
- Approach the clutch release cylinder; gently coax it to disconnect from the clutch fork.
- Ensure the input shaft and input shaft bearing are not disturbed during the tussle.
With these foes bested, the gear stick removal is a tale of triumph, a story to regale during cold nights in the garage.
Post-Removal Gear Stick Gala
https://www.youtube.com/watch?v=bm9C9zxUDAU&embed=true
After a successful gear stick extraction from a Land Cruiser, enthusiasts often engage in some rather whimsical yet precise post-removal festivities.
Inspecting the Trophy
The moment the gear stick is off, they meticulously examine it like an artifact from an ancient site. They look for the battle scars of shifting past—nicks, scrapes, perhaps a hint of residue from its time serving the transmission. This close inspection is critical, as it reveals the life story of the gear stick—a true trophy for the mechanically inclined.
Celebratory Kit Installation Bash
Once they’s sufficiently appreciated the removed gear stick, it’s time for the celebratory kit installation bash. A kit can range from fancy aftermarket gearsticks to customized transfer case sliders, each boasting improved clearance or simply a dazzling aesthetic that practically winks at the engine. Below is a brief list of gala essentials:
- Enhanced gear stick: For a renewed tactile thrill during each shift.
- Shift boot with vibrant hues: Because the transfer case also deserves to dress up for the occasion.
- Custom shifter knob: A crowning jewel that ties the celebratory kit together.
Remember, folks, these installations aren’t just about fun—they ensure your Land Cruiser’s transmission linkage is sharper than a sushi chef’s knife at a sashimi station!