
*This post may contain affiliate links. As an Amazon Associate we earn from qualifying purchases.
Removing the fuel pump from a Toyota Land Cruiser may at first glance seem like wrestling a mud-splattered alligator—you know there’s a challenge ahead, but with the right tools and attitude, you’ll be the one sunning victorious on the riverbank. The beauty of the Land Cruiser lies not only in its ability to plow through untamed wilderness but also in its engineering. However, like all machines, it has parts that need replacing, and the fuel pump is one that occasionally raises its hand for attention.
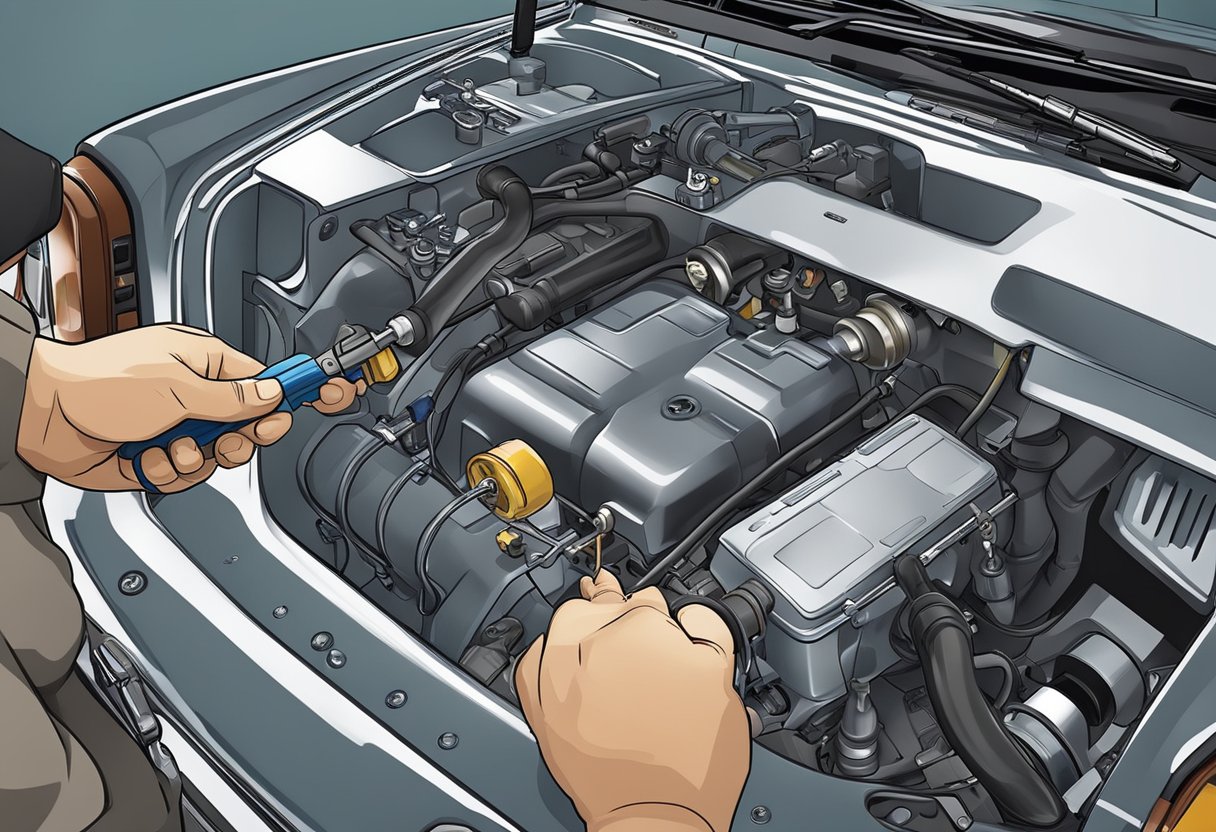
If you’re the DIY type, whose toolbox sees more action than a multiplex during a superhero film marathon, swapping out a fuel pump is a gratifying way to spend an afternoon. Armed with a bit of technical know-how, some patience, and an ability to contort oneself into the less-than-spacious area beneath your vehicle, you’ll emerge with not only a functioning fuel pump but also an unbeatable story to regale at your next barbecue. Let’s dive into the nuts and bolts of banishing a bad fuel pump from your beloved Land Cruiser without causing anarchy in the automotive universe.
Key Takeaways
- Removing a fuel pump requires technical knowledge and patience.
- Land Cruisers are designed for both rugged performance and maintenance accessibility.
- Successfully replacing the fuel pump provides both a functional vehicle and a great story.
Before You Dive In
https://www.youtube.com/watch?v=aJhzv_EG3ko&embed=true
The adventurous soul embarking on a fuel pump replacement for their trusty Land Cruiser should saddle up with the right gear and a healthy respect for safety. A sense of humor might ease the pain, but don’t let laughter lead to lax practices.
Tools and Parts Roundup
- Fuel pump assembly: Ensure they have the correct part number so that their mechanical steed doesn’t buck them off mid-ride.
- A fresh gasket and o-ring: These serve as the knight’s armor for preventing fuel leaks.
- Various bolts: A collection of these knights of the round table are crucial in securing the pump.
- Engine oil: Slicker than a sly fox for lubricating the o-ring.
- A clip or two: These little jesters keep everything in place.
- Fuel filter: Not all heroes wear capes, but every Land Cruiser should have a clean fuel filter.
Safety First, Laughter Second
Before their quest begins, ensure they don their shiniest chainmail, also known as safety glasses and gloves. Laughter is medicine, but it’s no substitute for caution when dealing with the dragon known as gasoline. They’ll want to avoid any spark or flame lest they fancy a cookout featuring more excitement than they bargained for.
Getting to the Heart of the Beast
https://www.youtube.com/watch?v=dtlZWOW6-cE&embed=true
When tackling the fuel pump replacement on a Land Cruiser, one must engage in a delicate dance with the carpet and embrace the joys of unbolting like never before. The interior elegance must first give way to the mechanical ballet beneath.
Carpet and Access Panel Tango
The first move in this dance begins with the careful peeling back of the carpet. It’s critical not to tear or damage it, as snooping passengers would frown upon seeing the innards of your vehicle. One might find the carpet clinging for dear life around the floor service hole cover, but a bit of finesse and a gentle tug should do the trick. This should reveal the coveted access panel — the gateway to the mechanical marvel that is the fuel pump bracket.
- Step-by-Step:
- Carefully pull back the carpet to reveal the service hole cover.
- Remove the access panel with a sense of accomplishment.
The Great Unbolt
Now that the carpet has bowed out and the access panel has stepped aside, the bolts await their turn. They may be stubborn, but with a twist and shout, they too will join the dance floor. Unfastening these bolts exposes the fuel tank to the limelight. The bolts not only secure the fuel pump bracket, but also serve as silent guardians to the fuel pump itself. Equip oneself with a socket wrench and remember, lefty-loosey, righty-tighty.
- Bolt Locations:
- Fuel Tank: Usually held by several bolts—check for rust, as they might be tougher to crack a joke… or themselves.
- Fuel Pump Bracket: Secured by smaller bolts, appreciation for their service is due upon successful unscrewing.
The Pump Extraction Ceremony
https://www.youtube.com/watch?v=tEGMs98J-mA&embed=true
Removing the fuel pump from a Land Cruiser is not your average Sunday teatime activity. It involves a meticulous unclipping and a bit of muscle, but hey, at least it’s cheaper than a gym membership and more rewarding than pumping iron.
The Unclipping Ceremony
The fuel pump, snug as a bug in its home, is held by clips with a love for their job. One does not simply yank them apart; they must be coaxed. One needs to:
- Locate the clips: They’re the gatekeepers of the pump removal process.
- Press the clips gently: It’s about finesse, not brute force. Doing so will release their firm embrace on the fuel pump.
Wrestling the Pump Out
Now, for the main event. The fuel pump sits comfortably on a rubber cushion, much like a king on a throne, unaware of the coup about to take place. To successfully dethrone it, one must:
- Grab hold of the pump: Use a lever if necessary to gently persuade the pump to abdicate its rubber throne.
- Pull steadily: A consistent force is key; it’s more of a tango than a wrestle. Mind the angle, so components live to see another drive.
The fuel pump, once released into the wild of the garage floor, marks the end of the successful Pump Extraction Ceremony.
Farewell and Reassembly Fiesta

After bidding adieu to the old fuel pump, one’s about to welcome a shiny new fuel pump into the heart of their Land Cruiser. It’s time for the new pump to steal the show and get cozy under the hood. The audience of gaskets and O-rings can’t wait for this performance.
New Pump’s Grand Entry
Before the new pump hits the stage, make sure it’s got its entourage ready. The pump filter should be firmly attached—the unsung hero of the fuel system, making sure only the good stuff gets through. Now, place the star of the show into position:
- Ensure the gasket or O-ring is properly seated for a gas-tight performance.
- Align the pump with the tank opening, ready to embark on its fuel-pumping encore.
Bolt Fiesta and Pressure Party
It’s not a true fiesta without some tightening bolts and raising pressure! Secure the pump with bolts, doing a little jig as each one snugly fits. No bolt left behind! After everything’s bolted in, it’s time to prime:
- Turn the ignition on to let the fuel system invite the pressure to the party.
- Don’t forget to use a fuel pressure gauge for that VIP pass – only the right pressure levels are getting on this guest list.
- If the gauge shows the system pressure’s on point, the fuel system’s ready to get the engine purring.
Now, revel in the success because the pump’s in, the bolts are tight, and the party in the fuel lines has just begun.