
*This post may contain affiliate links. As an Amazon Associate we earn from qualifying purchases.
Removing the steering wheel from a Toyota Land Cruiser might seem like a challenge worthy of an ancient puzzle master, but fear not! It is a task that many intrepid DIY enthusiasts and seasoned mechanics can undertake with confidence. Steering wheels need to be removed for a variety of reasons, whether you’re looking to customize the interior of the Land Cruiser, repair a component behind the wheel, or align the steering after work on the vehicle’s suspension has left it slightly askew.
Safety is paramount when dealing with any vehicle component, particularly one as critical to the Land Cruiser’s operation as the steering wheel. Before one starts imagining themselves as a vehicular surgeon, ready to perform the delicate operation of steering wheel removal, it’s important to prepare adequately. One must ensure that they are equipped with the right tools and knowledge, taking care to disable any electrical systems, such as airbags, to prevent unintended shocks or deployments.
Key Takeaways
- Removing a Land Cruiser’s steering wheel is doable with proper preparation.
- Safety procedures are crucial, especially around airbags and electrical components.
- Proper reassembly includes inspection and alignment for seamless operation.
Pre-Removal Preparations
Before anyone starts tinkering with their Land Cruiser’s steering column, they should know that the right tools and approach are crucial. Safety takes the front seat, as does the preparation to avoid any face-to-airbag experiences.
Tools and Tribulations
Every knight needs their sword and every would-be mechanic needs their tools. To embark on this steering wheel quest, one requires:
- Socket set with extensions
- Screwdriver set
- Torx bits
- Steering wheel puller (just in case things get sticky)
Disconnecting the Source of All Power
One wouldn’t pet a sleeping dragon, so why poke around a car’s electronics without disarming it? The beast here is the battery. Disconnecting it ensures nobody gets a shocking surprise. Remember, patience is a virtue—wait at least 15 minutes after disconnecting before proceeding with the removal, to make sure all power reserves are depleted.
First, Do No Harm to Your Airbag
Airbags, the vehicular equivalent of a jack-in-the-box, can pack a wallop if mishandled. They’ll need to be treated with respect and a gentle touch. Look for the screws or bolts (usually hiding behind the wheel or within reach) that keep the airbag in its cozy nook.
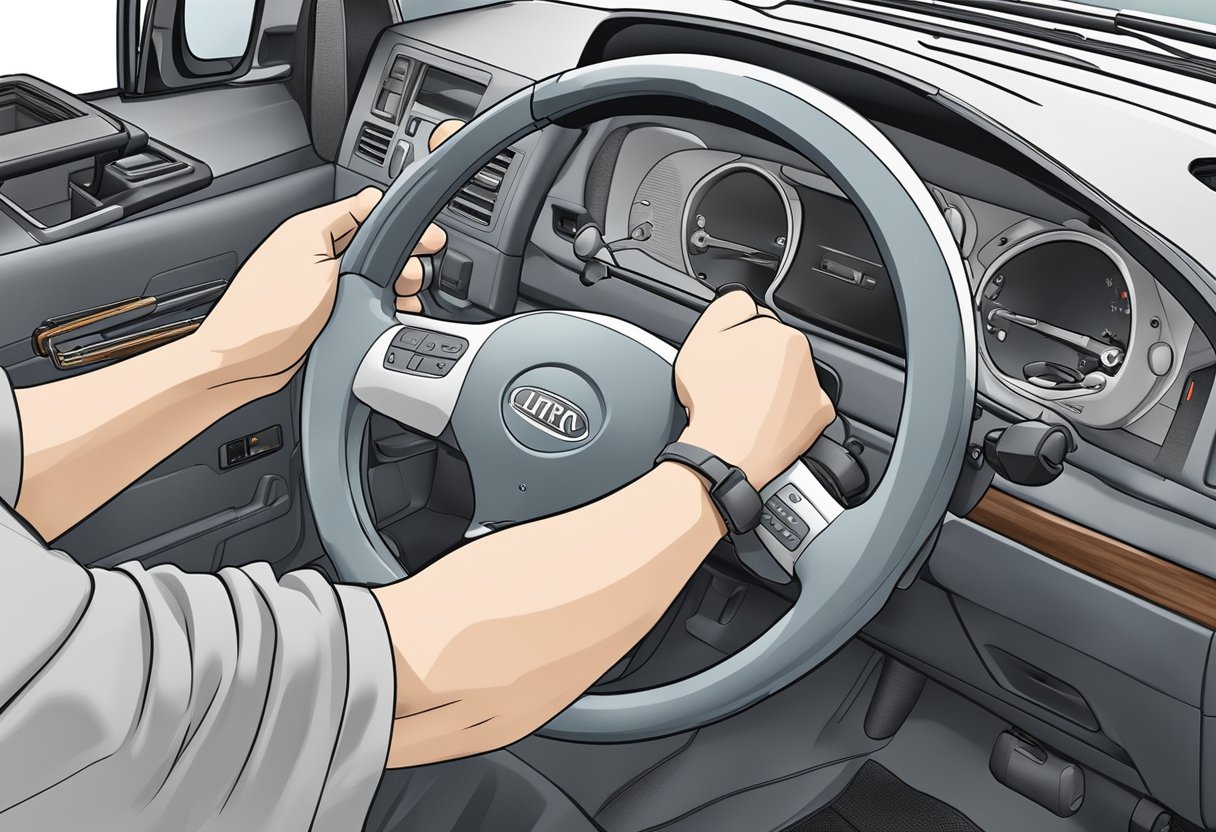
Making Sure Your Wheels Don’t Go on Strike
Aligning the front wheels straight ahead keeps the world in balance and ensures that when the steering wheel comes back on, it’s not guiding anyone in serpentine patterns down the freeway. It’s a peace treaty between one’s driving intent and the car’s actual path.
Getting Down to Brass Tacks: Steering Wheel Removal
https://www.youtube.com/watch?v=kyIfzgvcsro&embed=true
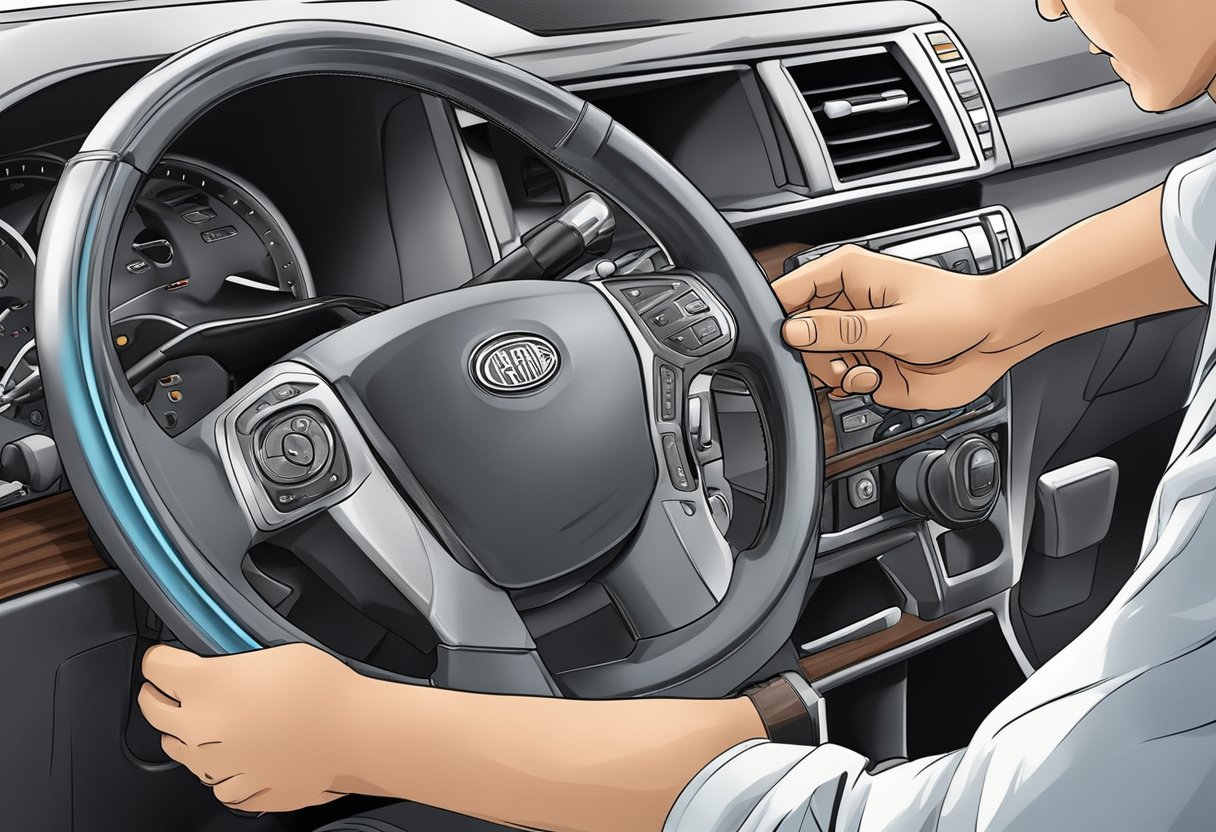
Diving into the heart of the operation, one must skillfully navigate the dismantling of the steering wheel, from the wheel pad to unveiling the connectors. It’s like performing a magic trick, but with a wrench instead of a wand.
Liberating the Wheel Pad
Before anyone can get to the steering wheel, they must first wrangle with the wheel pad. It’s stubborn, but not mighty enough to resist the pull of destiny (or a firm tug):
- Step 1: Gently pry the wheel pad—akin to coaxing a cat out from under the bed. Be genteel; it has feelings too.
- Step 2: Disconnect the airbag connector with the finesse of a heart surgeon on decaf coffee—it prevents the airbag’s untimely introduction.
Unscrewing the Path to Victory
With the wheel pad consigned to history, the battalion of machine screws awaits. They stand guard over the treasure but shiver in the face of a screwdriver:
- Arm thyself with a screwdriver of appropriate size (the screw’s nemesis).
- Rotate counterclockwise—think of undoing past mistakes, but with screws.
Dodging the Spiral Cable Booby Trap
The spiral cable is like that level in a video game everyone hates—it’s tricky:
- Warning: Mark the current resting place of the cable. It’s not fond of change.
- Tactic: Use a piece of tape to mark the spiral cable position, or brace for the haunting “why didn’t it go back right” chorus.
The Moment of Truth: Steering Wheel Liberation
The culmination of this epic saga arrives—the steering wheel stands on the precipice of liberation:
- Tool of Choice: Employ an SST, if available, or a suitable puller.
- Heroic Twist: Unscrew the center nut, but leave it on the brink to catch a falling wheel and prevent a shiner.
It’s not the steering wheel’s first rodeo, but with precise movements and a touch of humor, it’s out. The connectors and remaining entrapments shall bother it no more.
The Aftermath: Inspection and Reassembly
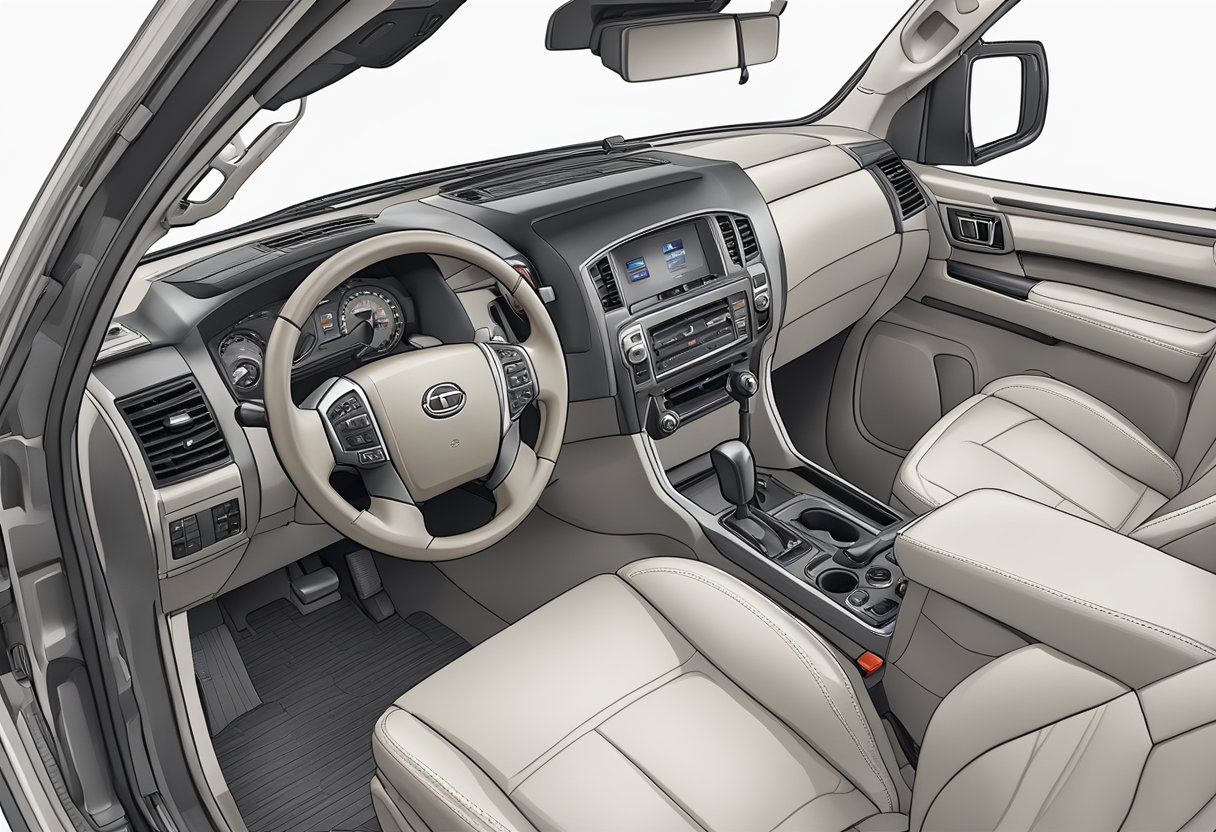
Once the steering wheel is off, they’ve crossed the Rubicon. There’s no turning back now—only a careful inspection and methodical reassembly stands between them and vehicular harmony.
The Big Inspection
A magnifying glass isn’t required, but it would make them feel like a detective. They must scrutinize every inch of the No. 2 intermediate shaft assembly, ensuring it’s neither a relic from a bygone era nor waiting to sabotage their future drives.
- Check for damage: Any signs of wear or damage require immediate address.
- Lubrication condition: If it’s as dry as a comedy club’s two-drink-minimum, it’s time to lubricate.
Reverse Engineering: Reassembly
They’ll want to piece it back together like it’s a treasured LEGO set—each part snapping back to its rightful place. It’s a game of patience and precision, with no room for leftover parts that’ll have them waking up in cold sweats.
- Start by aligning parts exactly in reverse order.
- Tighten bolts: A Goldilocks scenario—just right, not too tight.
Alignment Sorcery: Matchmarks
Now comes the part that’s akin to aligning the planets—using matchmarks to ensure the steering wheel doesn’t end up like a mischievous Sprite, turning in all the wrong directions.
- Correct alignment: Marks should meet like long-lost friends.
- Test: They should give it a dry run, envisioning their next off-road adventure or trip to the grocery store.