
*This post may contain affiliate links. As an Amazon Associate we earn from qualifying purchases.
Changing the headlight bulb on a Toyota Land Cruiser doesn’t have to be a quest for the bravest knights of the realm; it can actually be more like a swift adventure into the cavernous engine bay, armed with nothing but determination and a new bulb. It’s a straightforward operation that screams practicality for those wishing to keep their trusty steed illuminating the path ahead. Whether it’s an older model feeling its age or a newer 200 Series Landcruiser craving a little attention, a headlight bulb replacement may be just the ticket to brighten up the road less traveled.

No one can question the legendary status of the Land Cruiser, a mighty chariot that has roamed the plains and conquered mountains with its robust build. However, even the mightiest of cruisers suffer from the occasional burnt-out headlight. For many, the thought of tinkering under the hood invokes images of a mechanic’s shop and a hefty bill, but fear not! Replacing a Land Cruiser’s headlight bulb is a feat easily mastered by both wizards of the workshop and brave DIYers alike.
Key Takeaways
- Replacing a headlight bulb in a Land Cruiser is an easy challenge fit for DIY adventurers.
- Ensuring you have the right tools and replacement bulb prepares you for a successful quest.
- Once the new bulb is in place, your Land Cruiser will shine with the brightness of a thousand candles.
Getting Geared Up for Glory

Before anyone starts transforming their Land Cruiser from a dimly lit caterpillar into a beacon of brilliance, they should know the essentials of bulb warfare. It’s all about the right tools and picking the shiniest bulb for the throne.
Tools of the Trade
To swap that fabled headlight bulb, one needs a trusty toolkit, but rest assured, you won’t be needing a full-fledged garage setup. Here’s what they’ll need to arm themselves with:
- Screwdrivers: Both Phillips and flat-head, because variety is the spice of life and car repairs.
- Pliers: For a tight grip on reality and the occasional stubborn wire.
- Gloves: Thick enough to protect their noble hands, yet nimble for delicate maneuvers.
- Work Light: They’re not changing bulbs in the Batcave; visibility is key.
- Safety Glasses: Because eye protection is no joke, even if they feel like a mad scientist.
Headlight Bulb: Choosing Your Light Charmer
Selecting the bulb is where the magic happens. Shall they bestow upon their steed a pair of bright white LEDs, or will they venture into the realm of HID lights, where the intensity could rival that of the sun? Perhaps the allure of Xenon beckons with its impressively longer life and otherworldly glow.
Here’s a breakdown of the choices at their disposal:
- HID (High-Intensity Discharge) Headlights: Lasts long, shines like a miniature sun, and consumes power with the might of Zeus. Not for the faint of heart.
- LED Lights: The energy-efficient warriors that promise longevity and a crisp, bright light. Ideal for adventurers and eco-friendly knights alike.
- Xenon Bulbs: These hybrids blend halogen and HID technology for those who can’t decide between tradition and innovation.
So, choose wisely, dear reader, for the bulb they crown will determine the illumination of their nighttime conquests.
Under the Hood Hokey Pokey

Before they dig into the nitty-gritty of headlight bulb replacement, drivers should be privy to a little dance known as the “Under the Hood Hokey Pokey.” This section walks through the essential moves: preparing the Land Cruiser and safely disconnecting the battery.
Prepping Your Land Cruiser
They’ll want to ensure their trusty Land Cruiser is ready for a dazzling transformation. So, she begins by popping the hood, which is like setting the stage for their mechanical ballet. Just a pull of a lever and a bit of an arm workout, and voilà, the hood is ajar!
- Engage the parking brake: Secure their beast on wheels to prevent any unexpected rolling.
- Locate the hood release: Usually found within arm’s reach under the dashboard.
- Prop the hood open: They use the hood prop rod to keep it from becoming a surprise guillotine.
The Great Disconnect
Next in their performance is the “Great Disconnect,” where a touch of caution ensures that the show goes on without a spark-filled fiasco. Disconnecting the battery is like asking the orchestra to quiet down before the soloist takes the stage.
- Identify the battery: They spot it sitting like a humble energy brick.
- Wiggle off the negative terminal: A twist here, a turn there, and the negative cable is free, ensuring there’s no shocking plot twist.
- Place the cable aside: They ensure it won’t spring back into contact like a mischievous snake.
By following these steps with a light-hearted grace, drivers keep their Land Cruiser and themselves in cheerful spirits, all set for the main event—swapping out that dim bulb for a shining beacon of light!
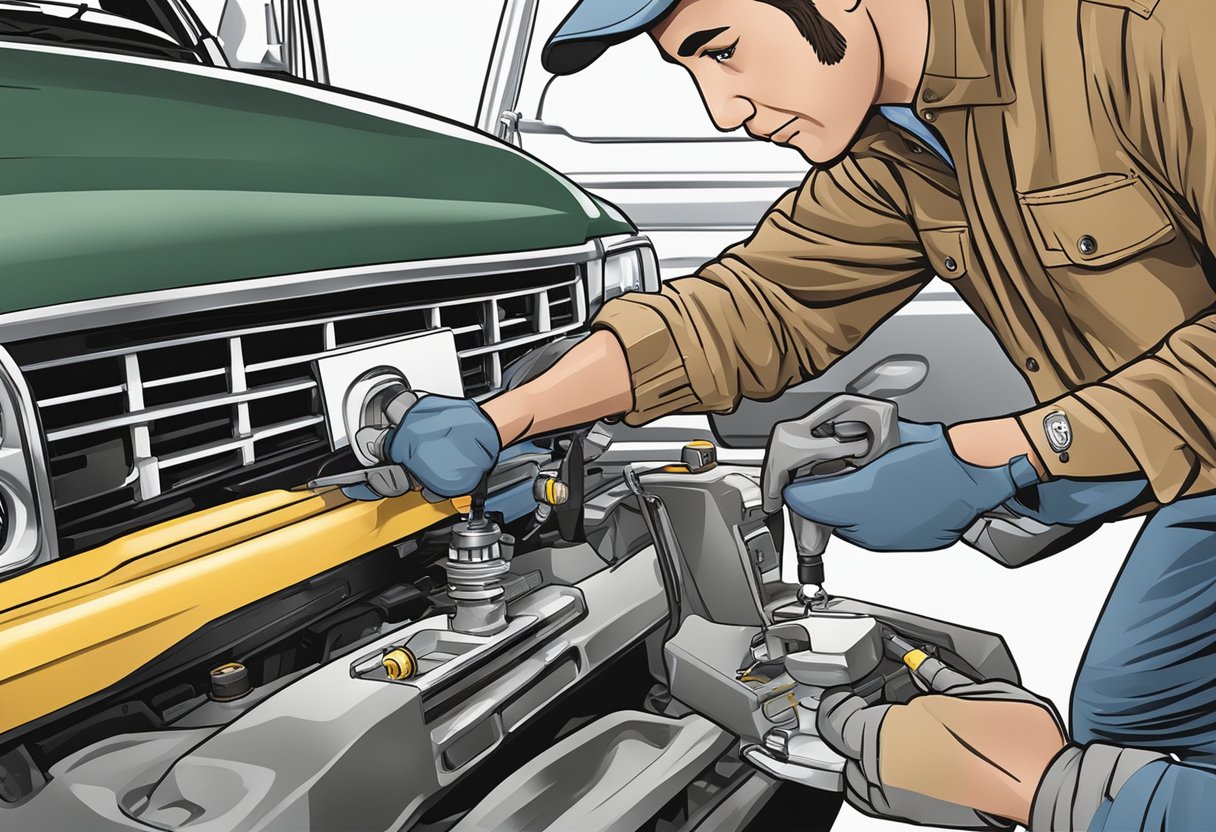
Illumination Installation Station
https://www.youtube.com/watch?v=teBeWdKeQss&embed=true
Swapping out the dingy bulb in a Land Cruiser doesn’t need to give anyone a headache. Just follow these straightforward steps to bring the sparkle back to the night.
Bulb Buddy Basics
Before diving into the surgical precision of headlight adjustment, one needs to know their bulb choice intimately. It’s an LED, halogen, or HID party, and the Land Cruiser’s not hitting the road without the right plus-one.
- Type: First, identify the Type of bulb needed; usually stated in the vehicle manual or often on the old bulb itself.
- Handling: Always handle the new bulb with care—greasy fingerprints can shorten its lifespan. Use a clean cloth or gloves when installing.
Securing the Shiny Beacon
After choosing the bulb’s dance partner, it’s time to lock it down. Securing the bulb in the headlight assembly is a twist and shout affair, except with less shouting and more twisting.
- Access: Gently remove the old bulb by twisting it counterclockwise. If there’s a metal clip involved, unhook it with the grace of a locksmith.
- Install: Slide the new bulb into the socket. Found that sweet spot? Give it a slight twist clockwise to seal the deal. If there’s a metal clip, persuade it back into place with a tender nudge.
By following these cheery chapters of bulb replacement, any Land Cruiser can bathe the road in light once again, effectively scaring away any fears of the dark—and perhaps a nocturnal critter or two.
Bright as a Bean: Aftercare and Analytics
Once the new headlights on the Land Cruiser are shining, the journey doesn’t end there. Maintenance ensures longevity, while analytics make sure the road ahead is as clear as a bean in bean soup.
Testing 1, 2, 3!
- Flick the Switch: Directly after installation, it’s crucial to check that the headlight functions through all settings. One wants to avoid a light show when they’re aiming for a romance with the road.
- Beam Alignment: One must ensure the beams sit at the correct angle. They wouldn’t want their Land Cruiser to be accused of giving the trees a tan.
- Brightness Check: A proper brightness check confirms that the new bulbs provide the visibility needed for safe night driving. Otherwise, what’s the point if they’re not turning night into day?
Maintenance and Mindfulness
- Regular Cleanliness: One should keep those shiny beans—err, headlights—clean for optimal performance. They’re not going to sparkle if they’re covered in grime, now, are they?
- Bulb Welfare Check: They should periodically check on their bulb health, looking for signs of dimming or color change—it’s the headlight version of asking, “How are you feeling today?”
Costs to Consider
- Replacement Bulbs: $ to $$$
- Depending on whether they choose regular, premium, or those top-tier, wallet-busting bulbs.
- Cleaning Supplies: $ to $$
- A small investment in cleaning supplies keeps the lights shining bright and the road ahead clear.
Maintenance includes regular checks and care to ensure peak performance and to safeguard visibility. Meanwhile, replacement cost shouldn’t be a dark cloud looming over one’s journey; it’s just part of the ride. By keeping an eye on these post-installation analytics, they’ll ensure a bright path ahead without breaking the bank.